

flexM1 “Magic” 1k
The flexM1 is a Mifare “Classic” S50 1k chip emulator with writable Sector 0, also known as the “manufacturer block” (includes the 4 byte NUID “serial number”).
- 13.56MHz Mifare S50 1k emulator chip
- 4 byte NUID and all of sector 0 is writable
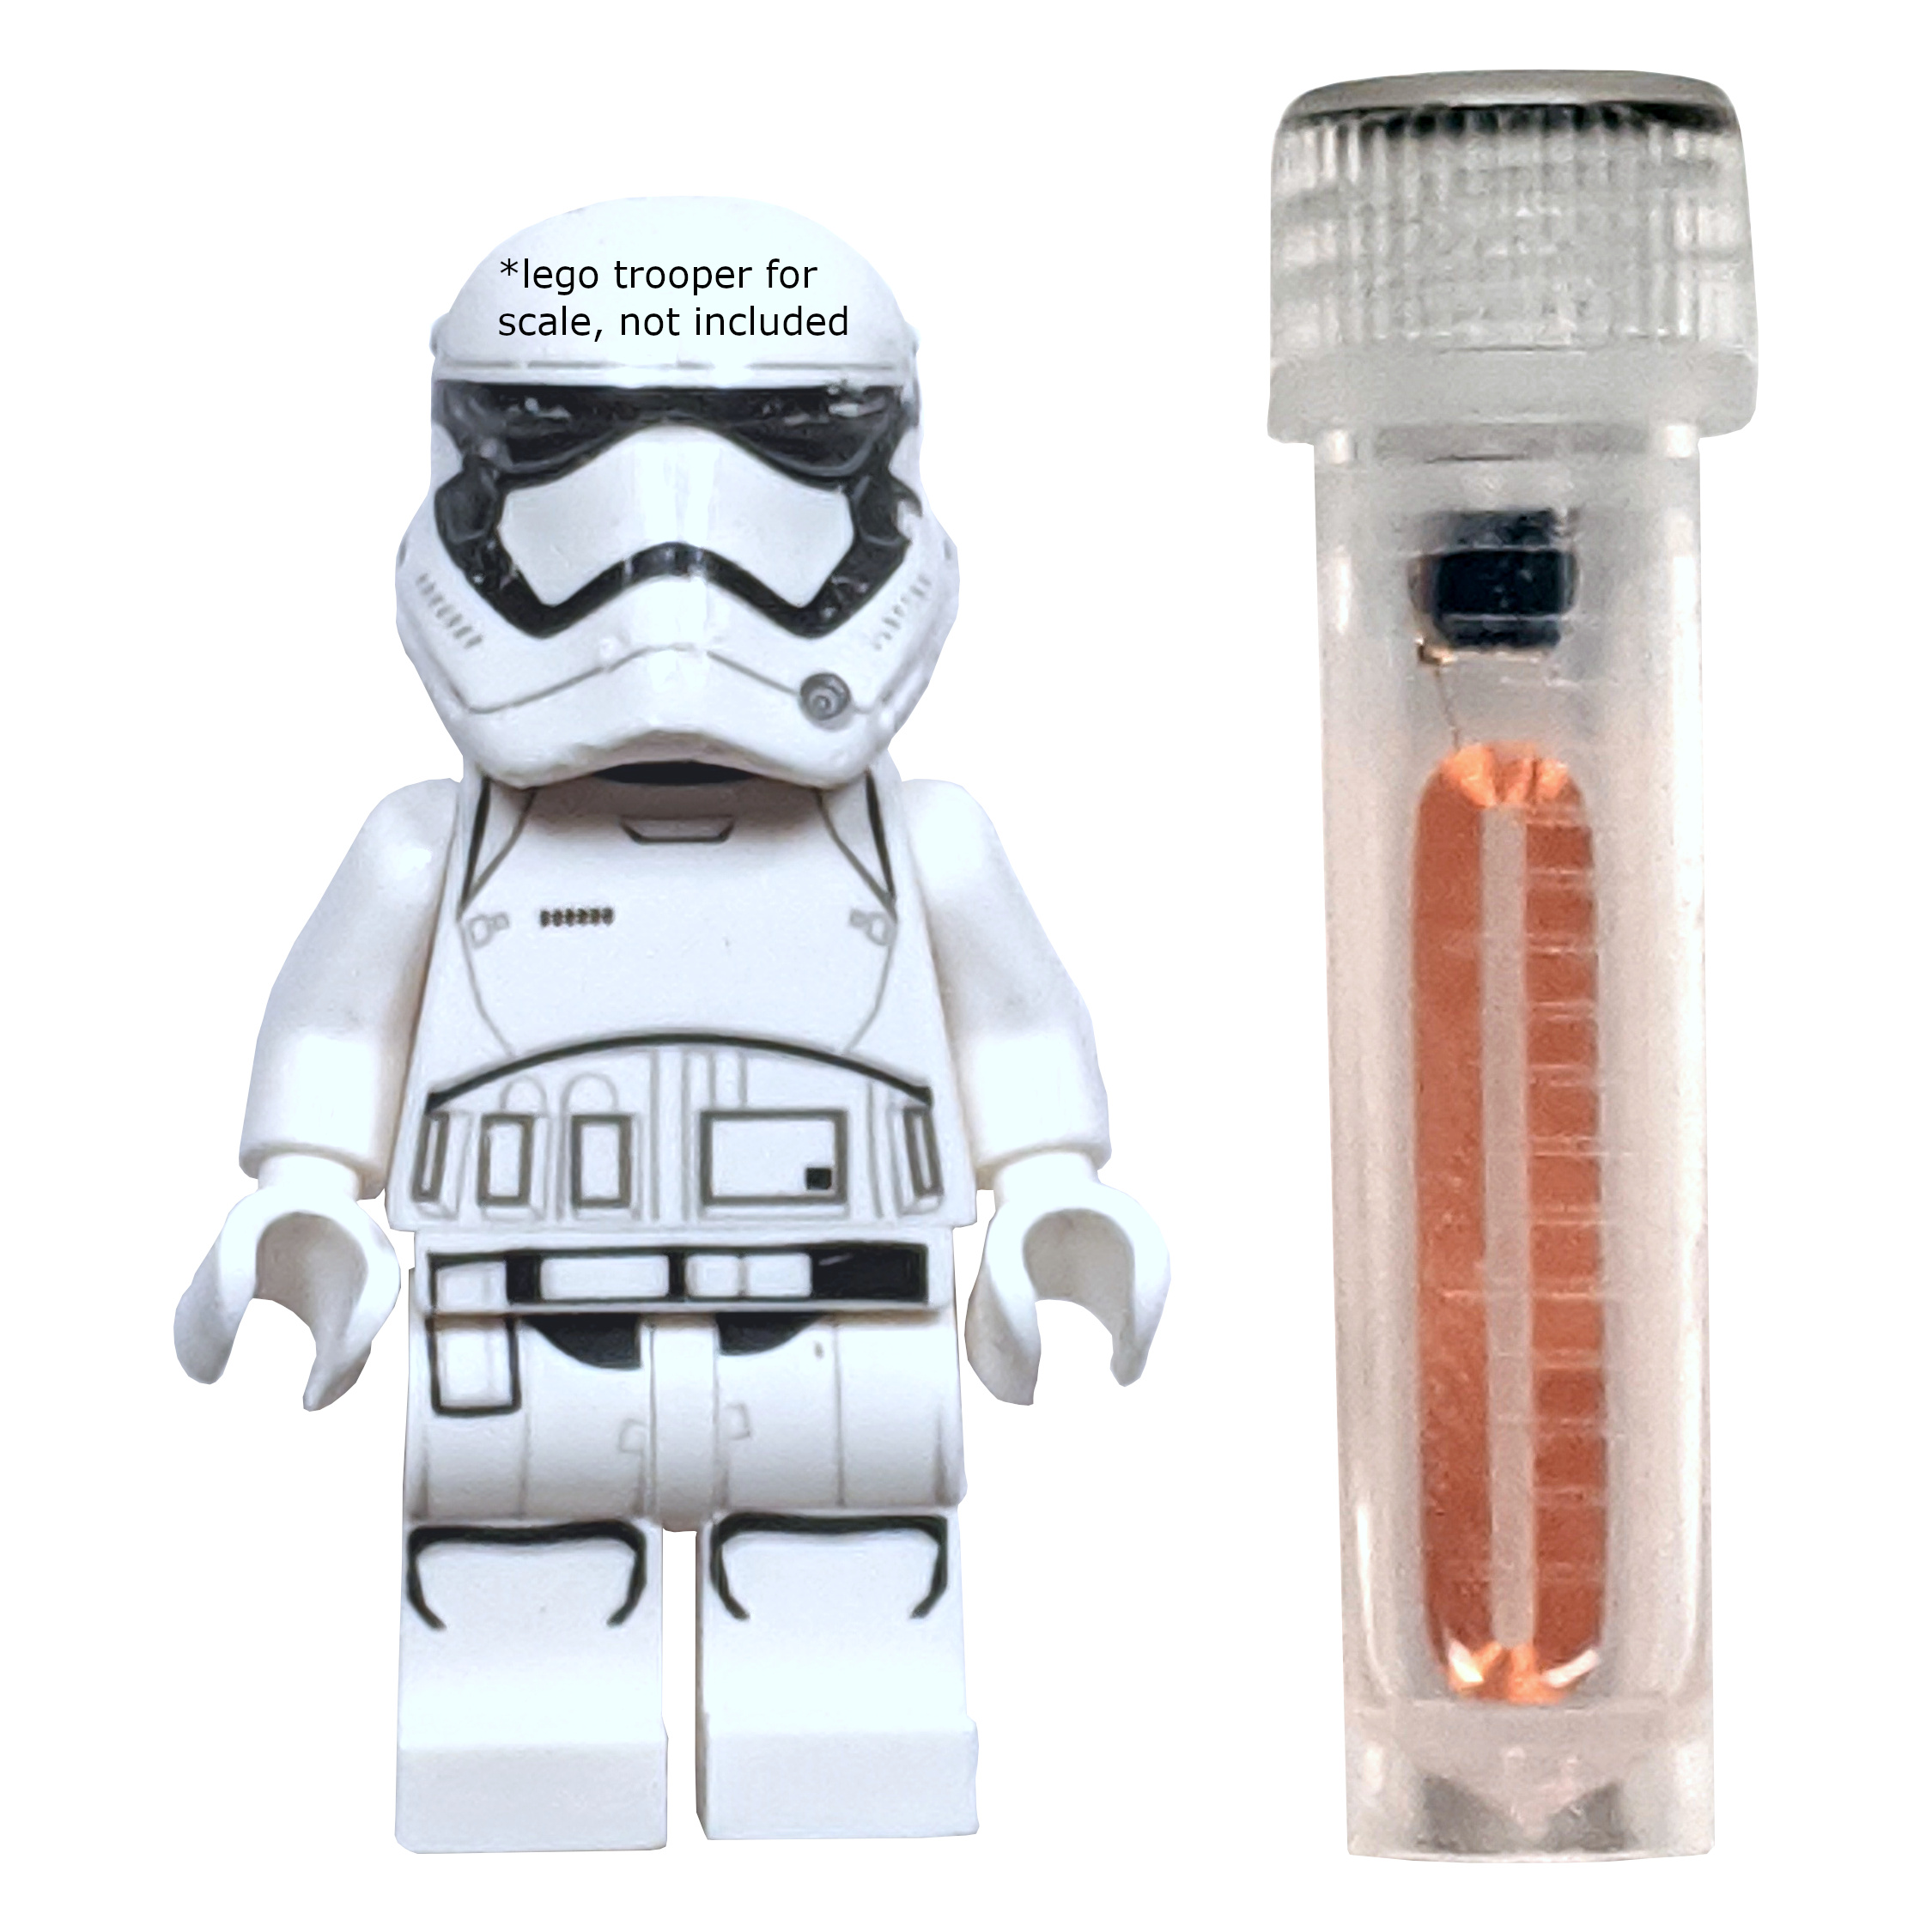
- 8mm x 38mm x 0.4mm flexible biopolymer package
- Want an analog? Check out the STL
- Available as gen1a “back door” or gen2 direct write
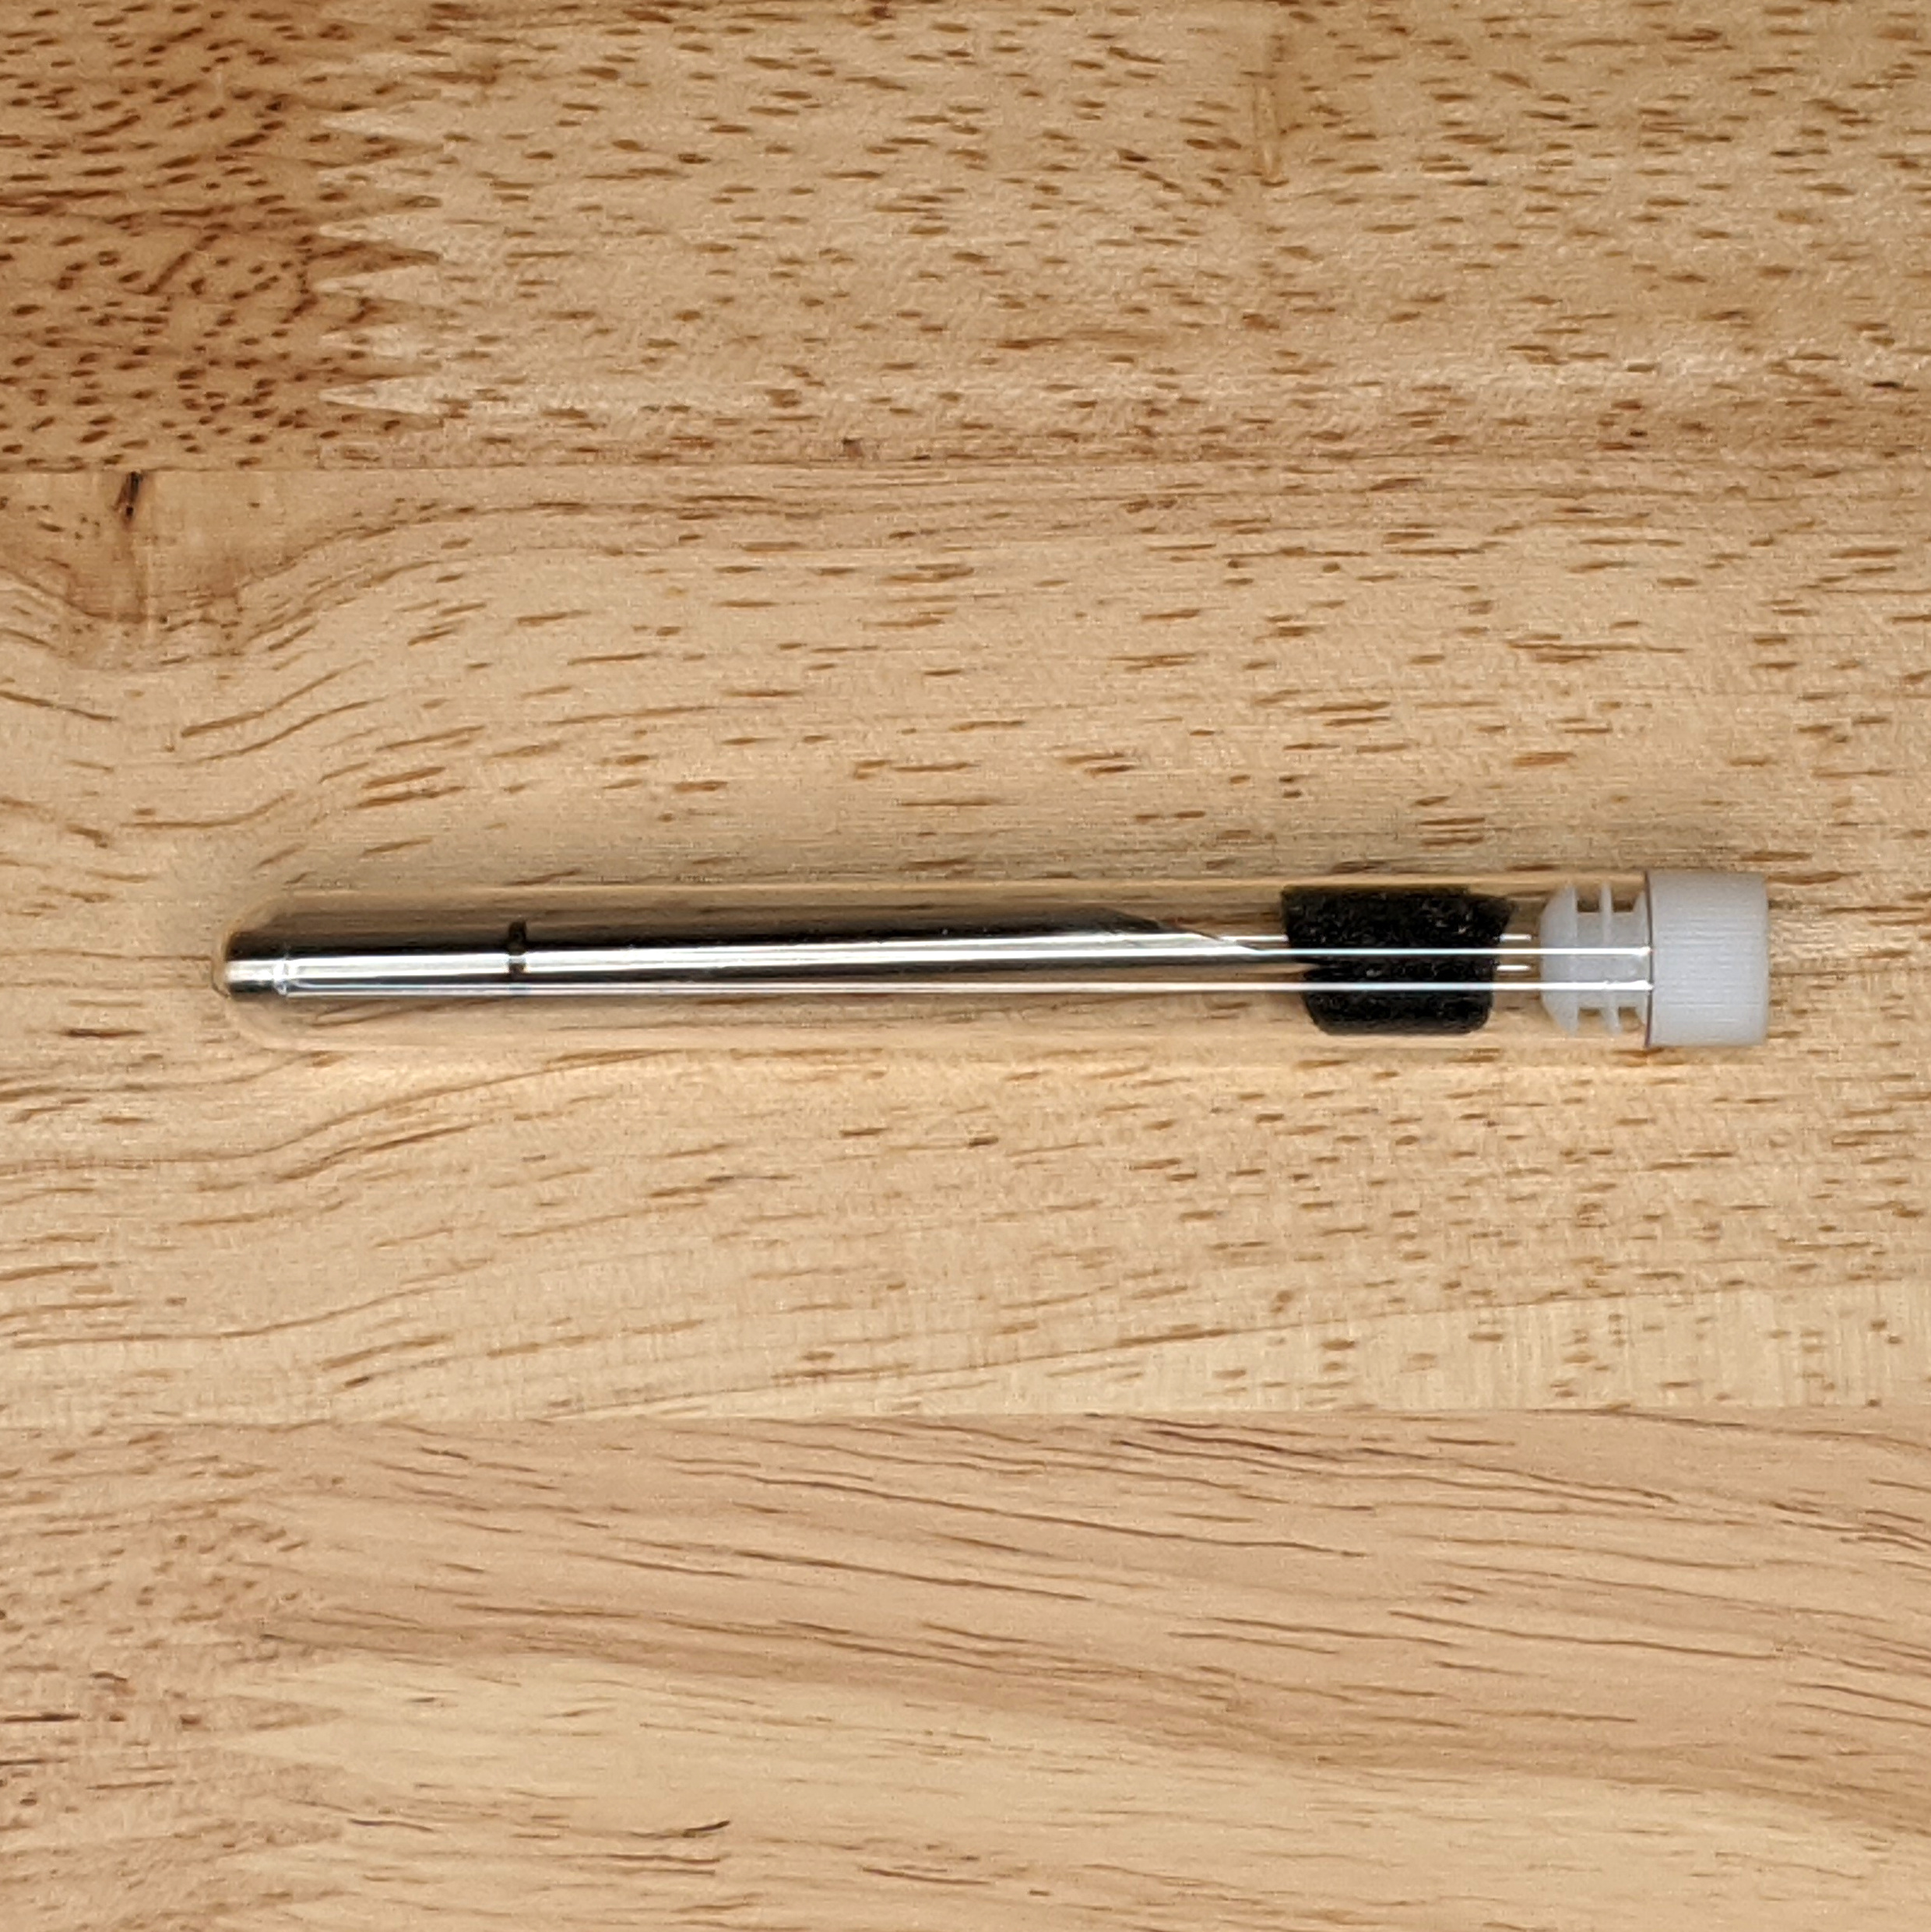
- 5mm (4G) Flex Install Needle Included! *Details & Warning
$225.00
More Details
WARNING This kit definitely contains dangerous things. The flexM1 transponder has not been tested or certified by any regulatory agency for implantation or use inside the human body. Use of this device is strictly at your own risk.
What’s so great about the flexM1?
Basically, for many years the MF1ICS50 1k chip was used for all kinds of applications as a “secure chip” for everything from access control to stored value cards, and used for making localized payments within closed systems like public transit and laundry services. However, its security mechanism called “crypto1” is a simple, proprietary encryption mechanism that hardly has anything to do with modern cryptography. It has been broken for many years now, but the sheer number of systems out there that still use it means the S50 1k chip will continue to be used by legacy systems around the world for years to come. So now, you can crack the security on those cards and clone their content (including the 4 byte non-unique ID or NUID “serial number”) to your flexM1!
What can this chip implant do?
• Copy certain HF chip IDs to this chip
• Some types of access control applications
• Scan this chip implant to log into your computer
What this chip implant can’t do
• Share data with NFC enabled smartphones
• Trigger events on NFC devices like smartphones
• Can’t make payments with this chip implant
• Chip implants can’t be used for GPS or tracking
Basic features
- 13.56MHz ISO14443A Mifare “magic” S50 1k emulator chip
- 4 byte ID and all of sector 0 is writable
- 10 year data retention. Rated for 100k writes per memory block.
- Embedded in 8mm x 38mm biopolymer encapsulation that is only 0.4mm thick
Common questions
- Q: What’s the difference between the gen1a and gen2 version?
- A: Read the magic chip post on our forum!
- Q: How do I change the ID of my magic chip?
- A: Read the magic chip post on our forum!
- Q: How do I clone cards to my magic chip?
- A: Read the magic chip post on our forum!
WARNING If you decide to purchase one of these units, be aware that “magic” chips come from Chinese grey market suppliers. Because the silicon IC inside the flexM1 is not made by a large reputable RFID transponder company, proper functionality or performance is not guaranteed. That said, the flexM1 still comes with our limited warranty protection.
Professional installation notes
Installation of a flexM1 device should always be done by a professional.
- Do not install under any gripping surface (e.g. no palm side installations)
- Do not install atop or parallel to any joints (flex devices are only “semi-flexible”)
Important things to know about the flexM1
– The biopolymer is ISO 10993 and USP Class IV tested and certified, however the final product has not been tested post-processing, meaning material changes during processing could render the final product unsafe in some way. Testing is planned for later, however beta testers have had the flexNT since April 2016 and report no issues. Dangerous Things founder and CEO Amal Graafstra underwent the first installation of a flexNT beta device on 03/02/2016 above the second metacarpal of the middle finger of his left hand. So far the installation has healed excellently and there are no signs of rejection or irritation at the installation site.
– There is no “preferred” location for installation of a flex device. Customers are free to install a flex into any area of the body their installation professional is comfortable with, as long as it is in the fascia layer between dermis and muscle tissue and not in an area of flexion or under a gripping surface. Even though we use images which suggest installation above the second metacarpal of one of the fingers, it is not an ideal location for such a device. Fingers are filled with tendons, nerve bundles, and very important things all packed into a very tight space. We urge you to think about easier locations like the back of the hand or in the arm/wrist.
– Flex devices are very durable. Here are some examples;