flexSecure Java Card Implant
The flexSecure is a developer friendly in vivo platform for digital identity, cryptography, and blockchain applications secured in a subdermal NFC implant.
- Implantable 8mm x 28mm secure element contactless smart card
- Want an analog? Check out the STL
- JCOP 4 OS for Java Card 3.0.5 applets on 167736 bytes of available EEPROM
- Common Criteria EAL 6+ and other national certification schemes
- Factory default master key, ready for developers to immediately deploy apps
- 5mm (4G) Flex Install Needle Included! *Details & Warning
- Comes preloaded with the most common apps and still has >55% storage available:
- Free Memory: helps determine the amount of free space on your device using Apex Manager
- AID: A0000008466D656D6F7279
- FIDO2: Act as a Passkey with U2F fallback
- AID: A0000006472F0001
- OTP Authenticator: Generate codes in vivo
- AID: A00000052721010141504558
- NFC Sharing: Massive, 32kb NDEF container
- AID: D276000085
- Free Memory: helps determine the amount of free space on your device using Apex Manager
$349.00
More Information
The flexSecure is a subdermal contactless secure element enabling fully autonomous separation of your cryptographic keys and functions from vulnerable general computing platforms such as your smartphone or computer. The ability to not only carry your OTP, PGP, and other cryptographic keys with you at all times, but also perform cryptographic functions in vivo (generate OTP codes, encrypt & decrypt data, etc.) without ever revealing private keys to the NFC interface you are interacting with is a huge step forward for personal digital identity and data security.
Want a test card or to try before you commit to the implant? Check out the J3R180 card.
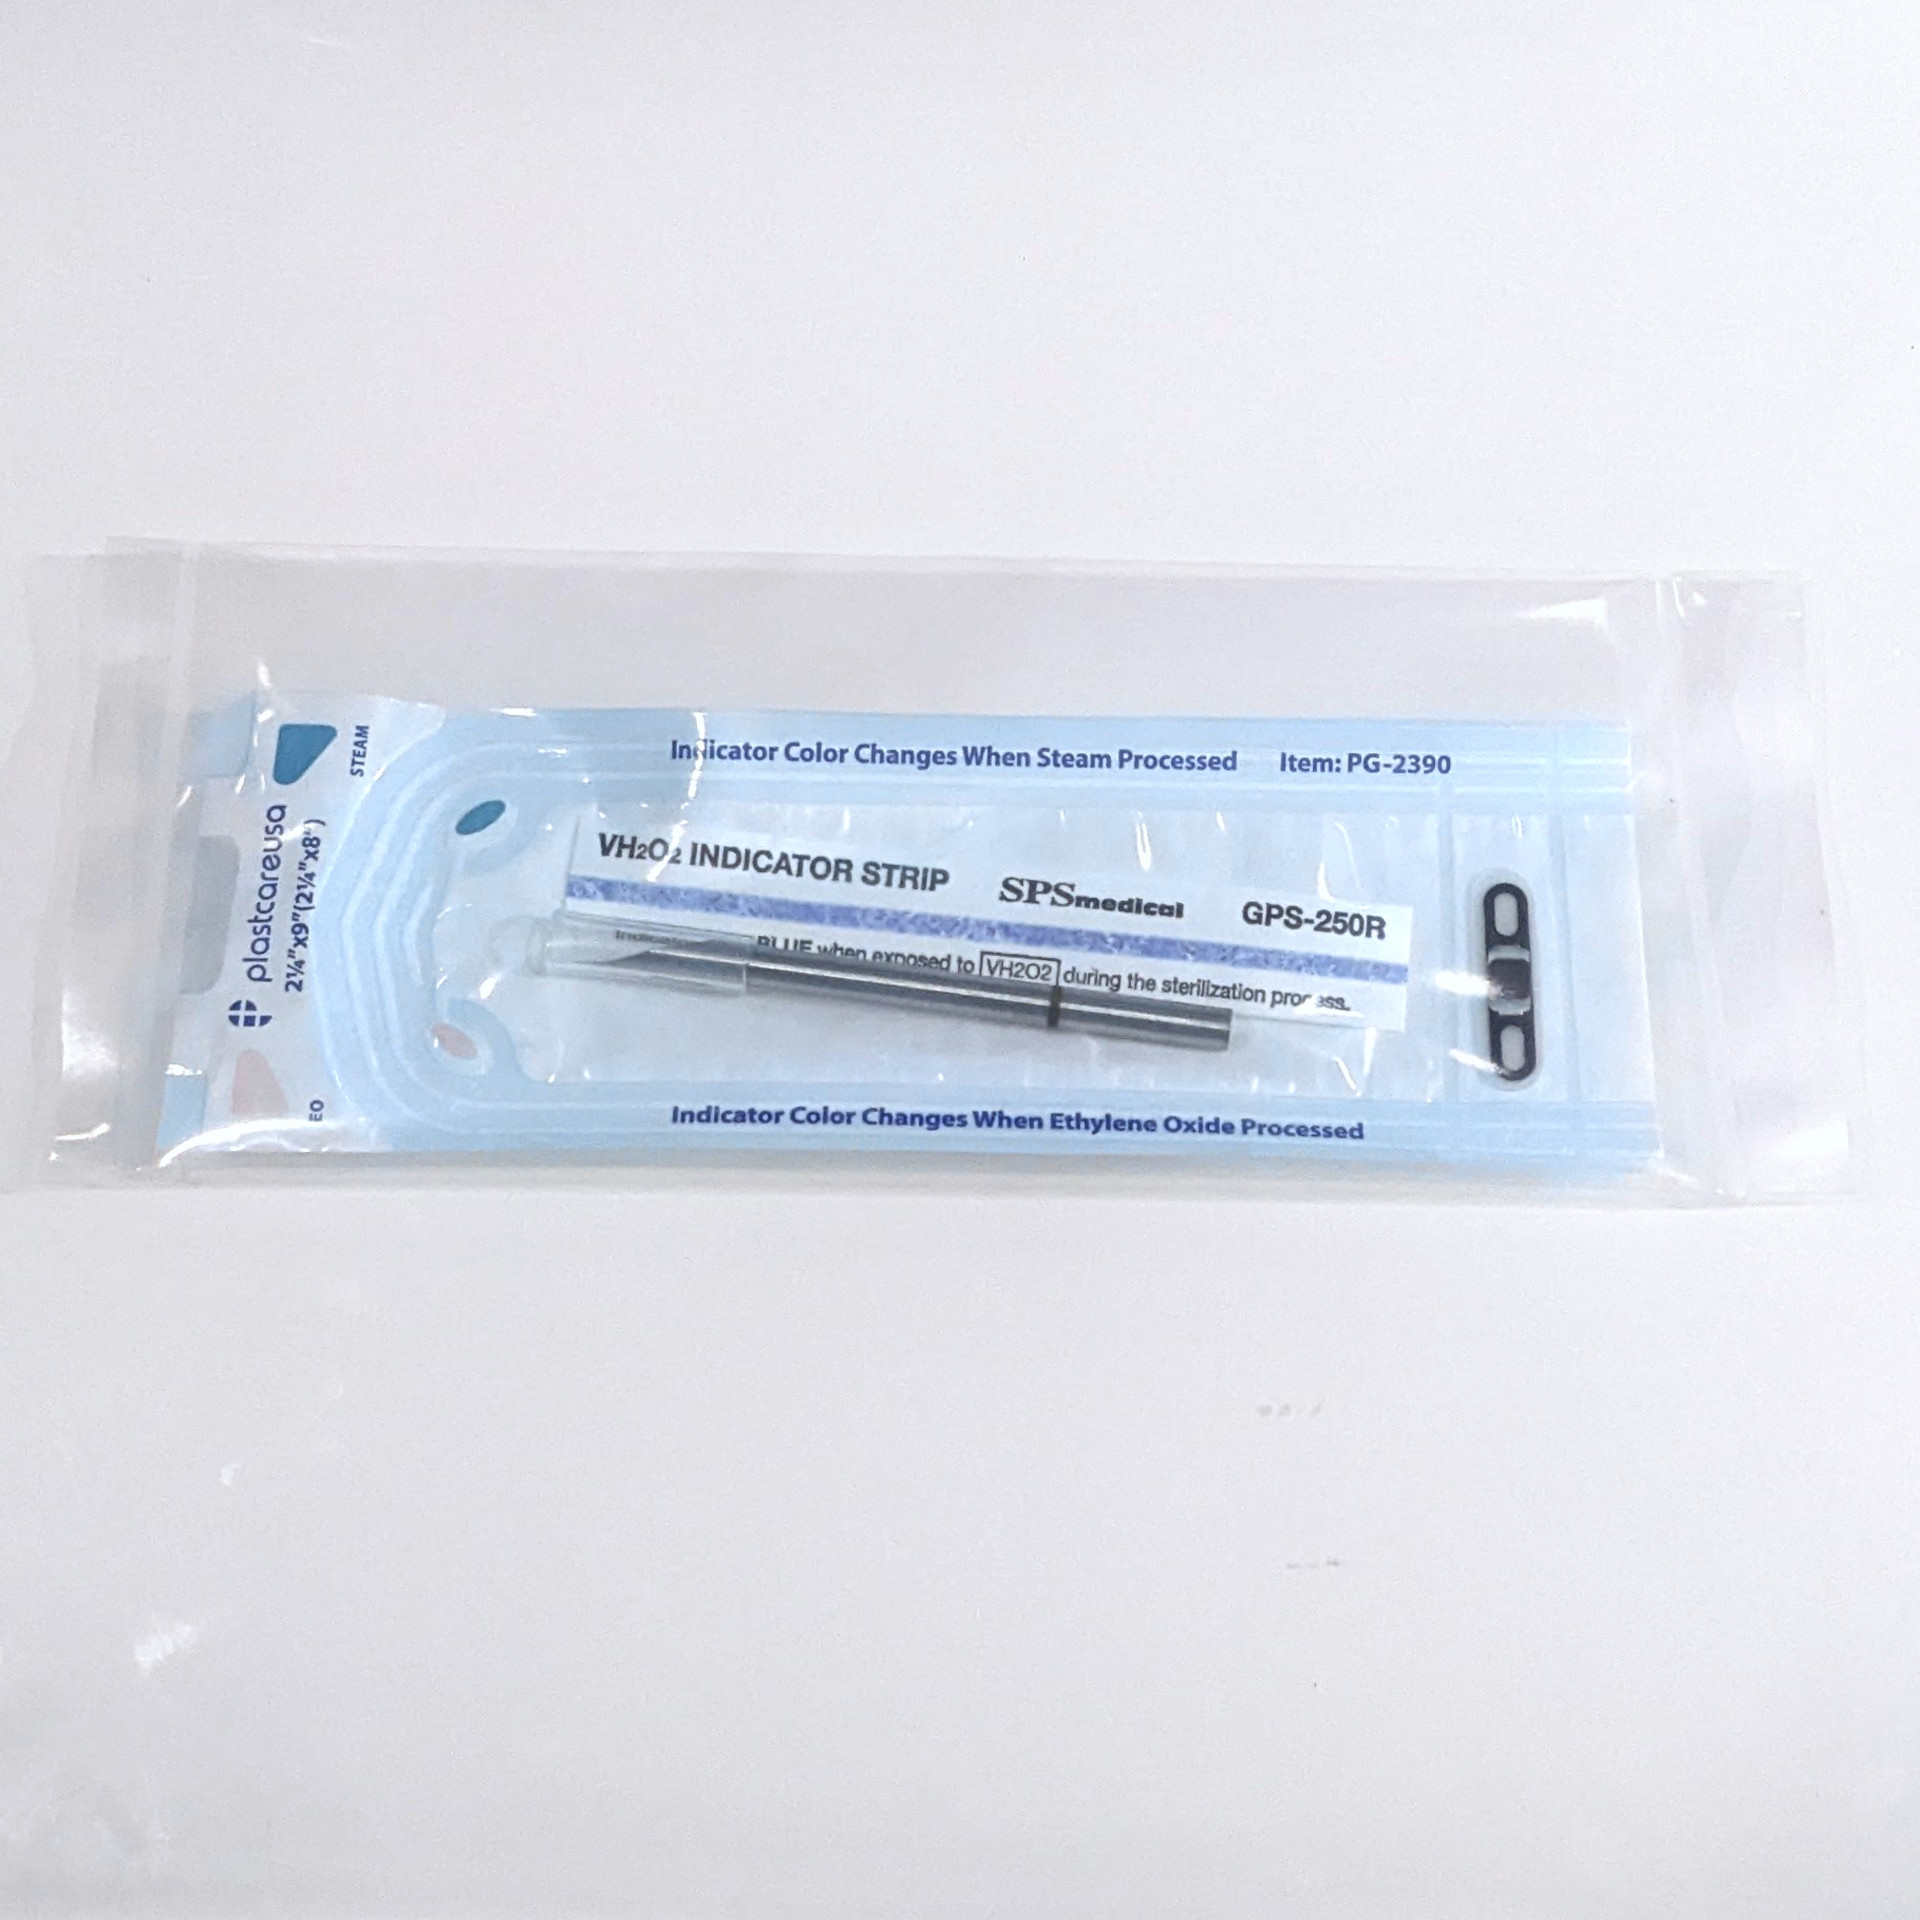
flexSecure Kit Contents
Your flexSecure kit comes with the following items.
-
- Pre-sterilized flexSecure implant in tyvek sterilization pouch
- Custom 4G (5mm) flex installation needle (unlubricated)
- 1 packet of sterile surgical needle lubricant
Use of your flexSecure
The flexSecure uses a SmartMX3 P71 chip from NXP. It comes with factory default master key set, and with ISD: A000000151000000 (OP_READY) and the card manager applet PKG: A0000001515350 (LOADED) so it’s ready for use with GlobalPlatformPro. Full documentation is available via public repository located at https://github.com/DangerousThings/flexsecure-applets/tree/master/docs.
flexSecure Applets
You are free to compile and load any applets you want of course, but we are maintaining a repository of open source applets and associated tools for your convenience at https://github.com/DangerousThings/flexsecure-applets/. If you would rather have an easy to use app-store like experience to deploy and manage your in vivo secure applications, check out Apex Flex.
WARNINGS
• The P71 chip in the flexSecure only allows a handful of incorrect master key attempts before permanently and irreversibly bricking itself. Changing the master key from factory default is necessary for security, but losing the key has no recovery process. Bricking the P71 has no recovery process. Proceed with caution.
• The flexSecure is for advanced users. Compiling applets, deploying applets to the flexSecure, and using your flexSecure with various applications all require some amount of mastery over the various domains involved. We do not offer direct support in any of these areas, however the community forum will have a place for flexSecure discussion.
Professional installation notes
The flexSecure is approximately 8mm wide by 28mm long, with an average thickness of 0.4mm. Installation should always be done by a professional.
- Do not install under any gripping surface (e.g. no palm side installations)
- Do not install atop or parallel to any joints (flex devices are only “semi-flexible”)
Important things to know about the flexSecure
– The biopolymer is ISO 10993 and USP Class IV tested and certified, however the final product has not been tested post-processing, meaning material changes during processing could render the final product unsafe in some way.
– There is no “preferred” location for installation of a flex device. Customers are free to install a flex into any area of the body their installation professional is comfortable with, as long as it is in the fascia layer between dermis and muscle tissue and not in an area of flexion or under a gripping surface. Even though we use images which suggest installation above the second metacarpal of one of the fingers, it is not an ideal location for such a device. Fingers are filled with tendons, nerve bundles, and very important things all packed into a very tight space. We urge you to think about easier locations like the back of the hand or in the arm/wrist.