

Conversion Service
As a custom service, we will attempt to convert a badge/card/fob/etc or certain (see below) bank or payment contactless-only mini cards, fobs, or devices (cannot have contact chip) into an implant by removing and encapsulating the chip or chip + antenna inlay with our specially formulated biopolymer coating. This is the same coating we use to make all of our Flex line devices. Conversion does come with some caveats! This service is a great option for transponders that cannot be cloned.
- Conversion cannot be guaranteed. We will make our best effort.
- We can only offer a 50% refund on any failed conversions.
- Traditional payment cards do expire and will need replacing!
$199.00
Payment Conversion Service
While VivoKey is working on a legitimate payment implant solution, some people just don’t want to wait! So, we are offering a payment card conversion service. We will attempt to convert your contactless payment device into a flex implant using our special biopolymer coating technique. It is important to note that we have not yet been successful converting a “dual interface” card – i.e. a payment card with contact chip AND contactless payment. We have had good success with converting contactless-only payment devices like mini cards and certain wearables with contactless payment modules inside.
Warnings (READ!)
- Standard contactless payment cards like these are meant to be disposable. They will eventually expire, and there will be no way to renew them or use them after they expire. You will have to either leave the device implanted but useless, or remove / replace it.
- Banks and payment vendors expect these products to be disposable, and may force a change on customers that will invalidate the current product, even before the expiration date. Many times new cards are issued due to actions like this and the old cards are inactivated. If this happens, your implant will be made inactive well before the expiration date.
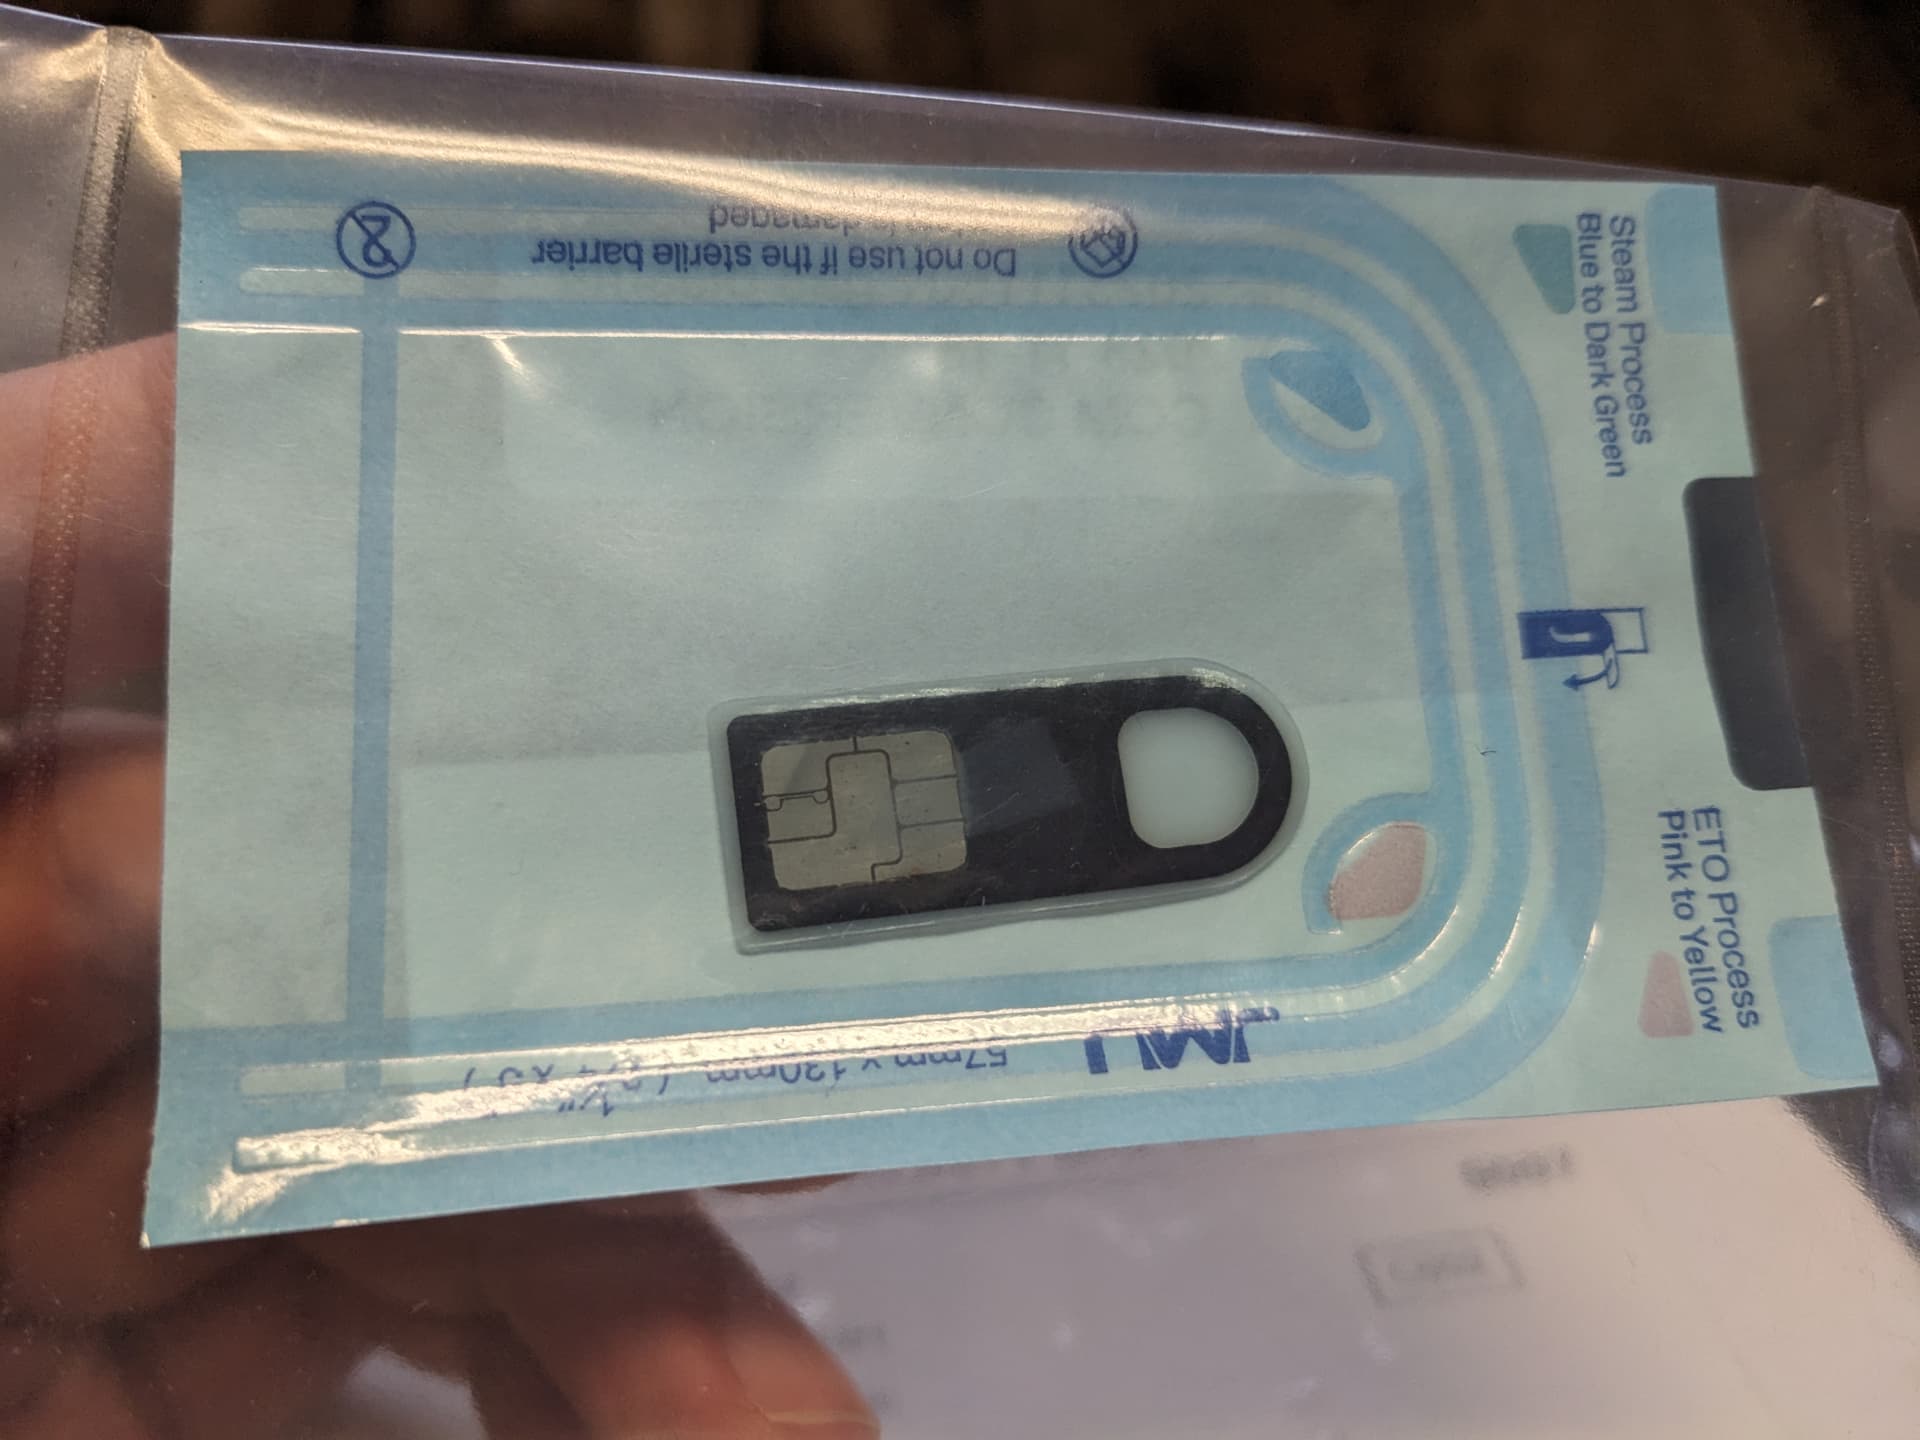
- We ship converted payment implants in a Tyvek pouch which has been sterilized in our gas plasma system. We place a lot tracking label on this pouch, but the integrity of the sterility of the device is up to you to maintain. We place the pouch into a sealed polymer bag to reduce the chances of moisture, skin oils, and other potential contaminants from penetrating the porous paper backing on the Tyvek sterilization pouch. This will not protect your device’s sterility from excessive handling! Do not touch or handle the bagged product prior to installation by a professional. The biopolymer used is not safe to autoclave, so unless your professional has access to an EO gas or gas plasma sterilization system, they will not be able to re-sterilize it for you.
Known Payment Devices
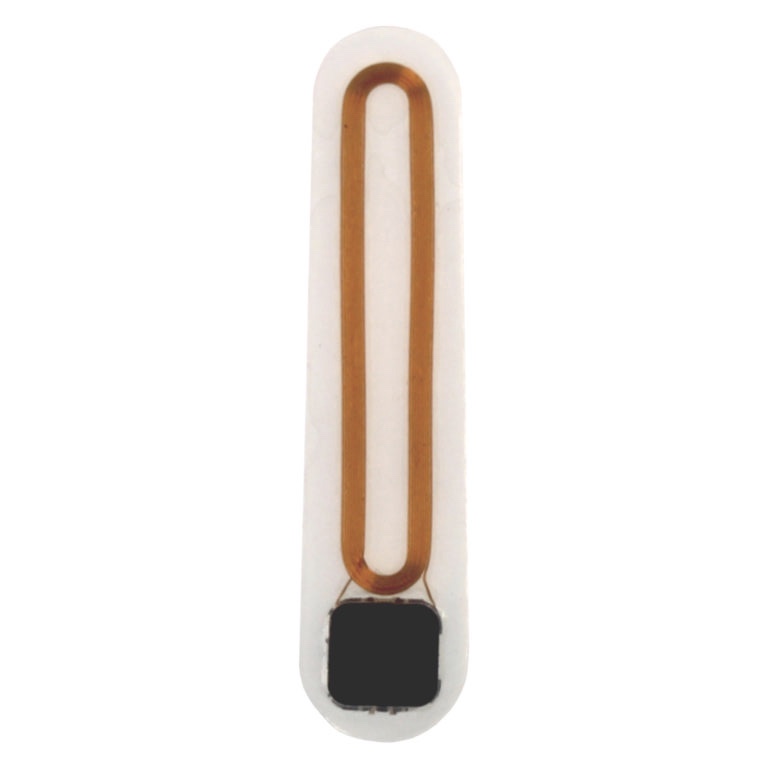
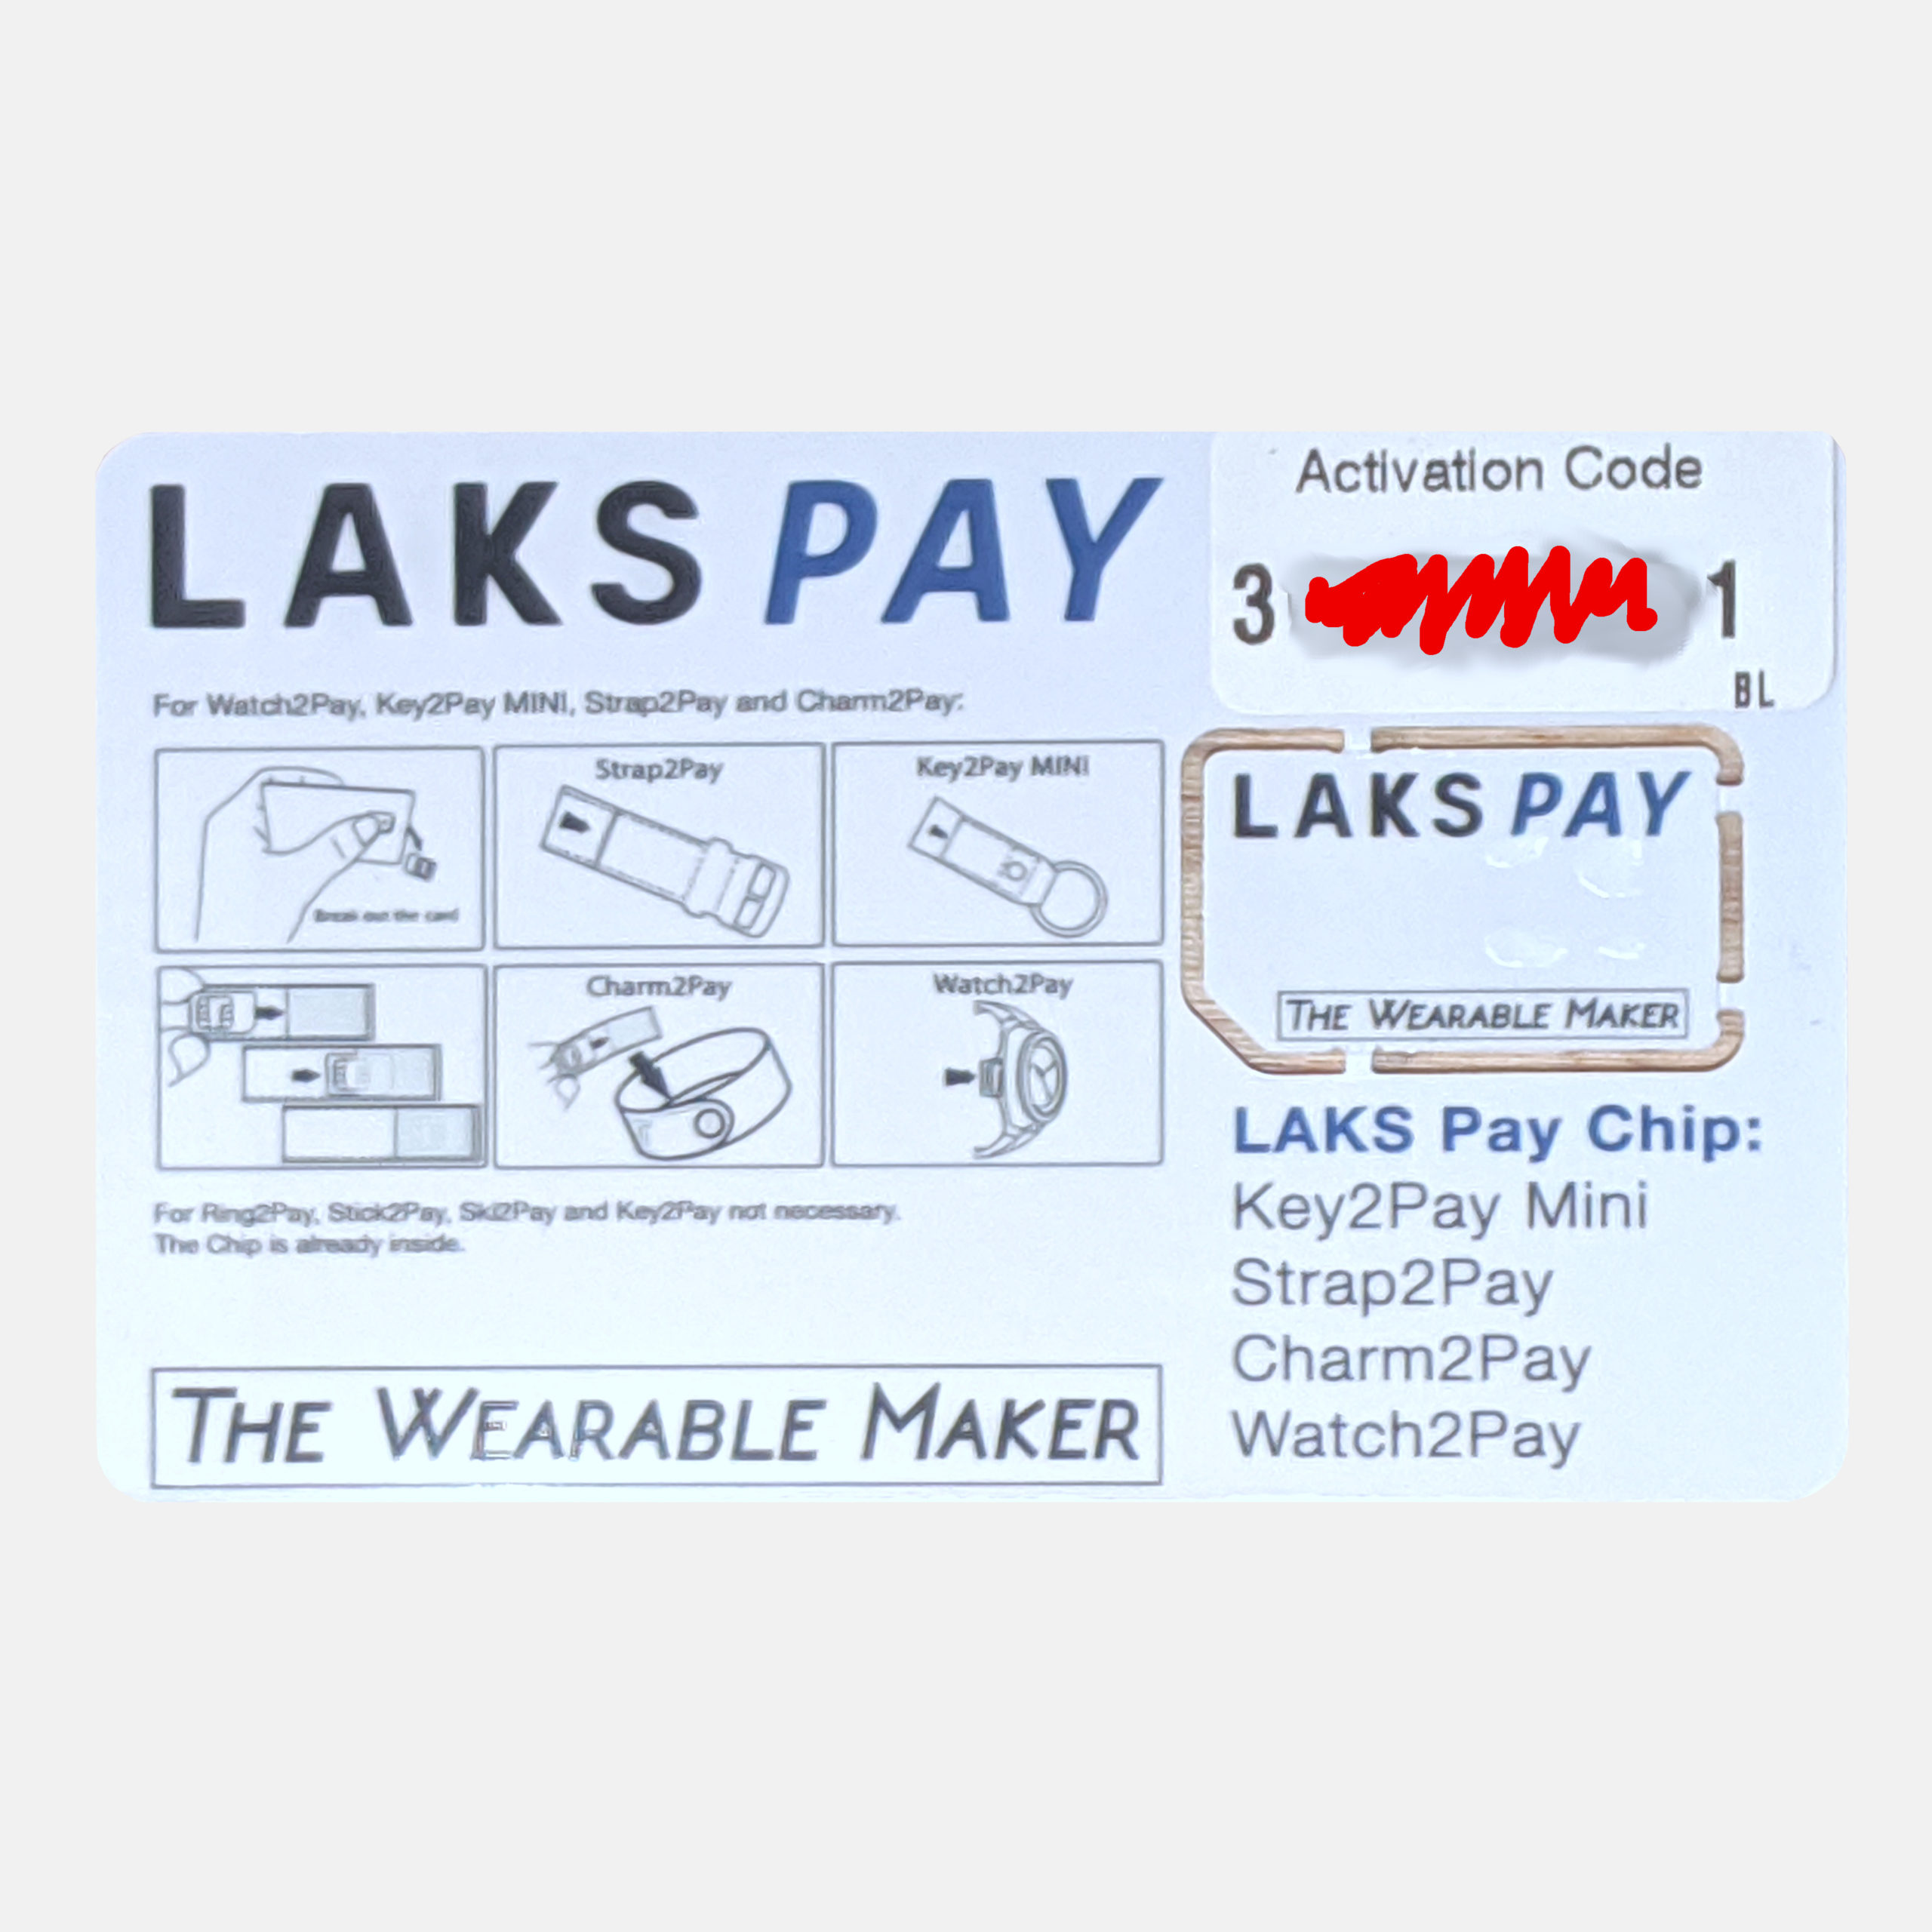
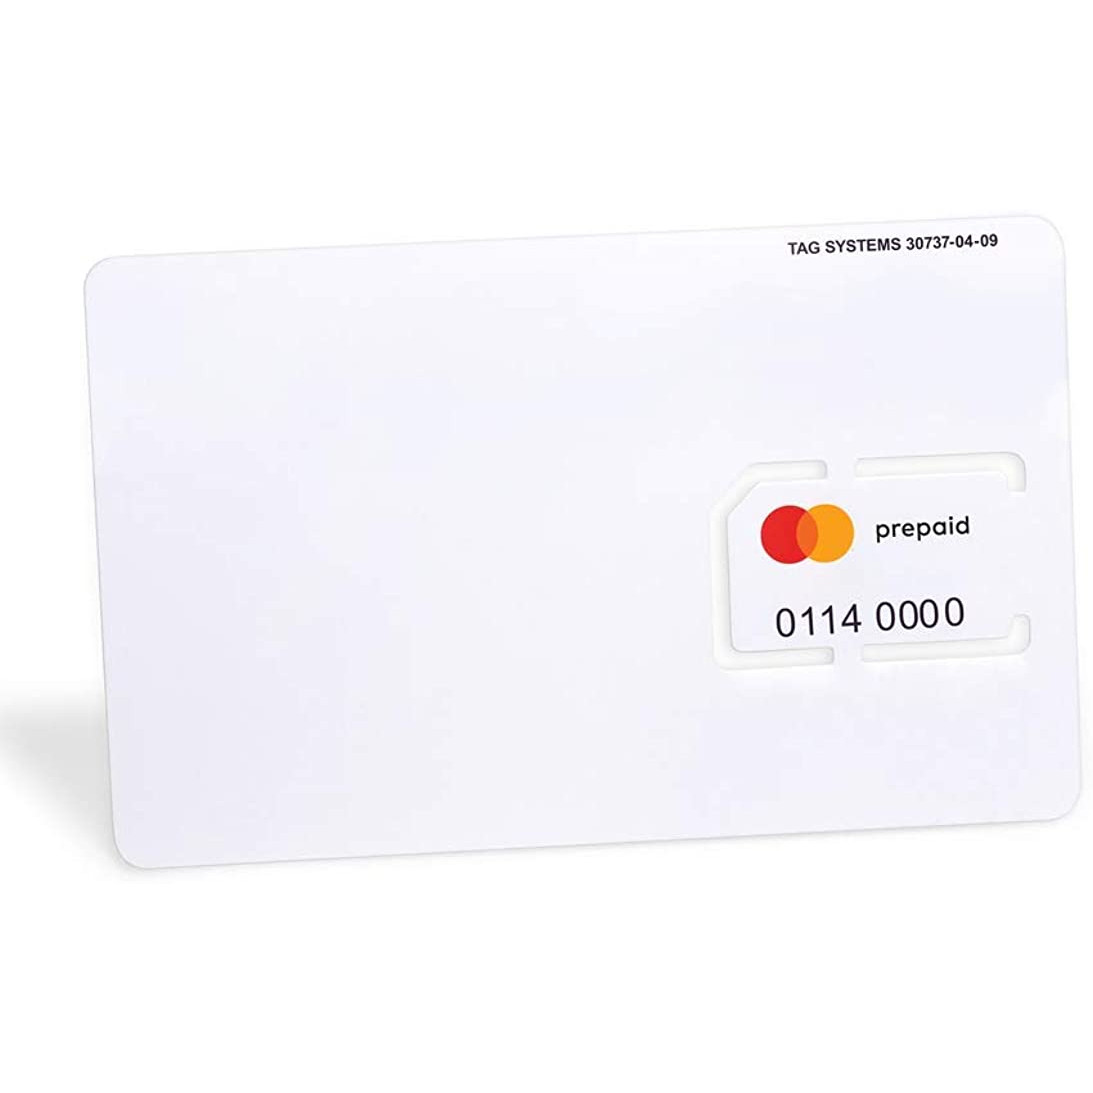
LAKS Mini Card (Europe)
The Mini card is a small plastic card that looks like a large SIM card or a narrow SD memory card. It pops out of a standard credit card sized carrier and is designed to be slid into certain LAKS wristbands or keychain products. It is an assignable payment device, meaning it can work with several payment services and banks including iCard, ABN AMRO, KBC, CBC, Nordia, Rabobank, etc.


- Check the LAKS website to ensure your bank works with LAKS payment cards.
- Purchase a product that comes with a “Mini” insert card like the Sili bracelet or Key2Pay Mini.
- Take note of the special code to activate the Mini card
- When you are ready to proceed, follow these Steps To Conversion.
- Final device will be 17mm wide x 27mm long x 0.5mm thick
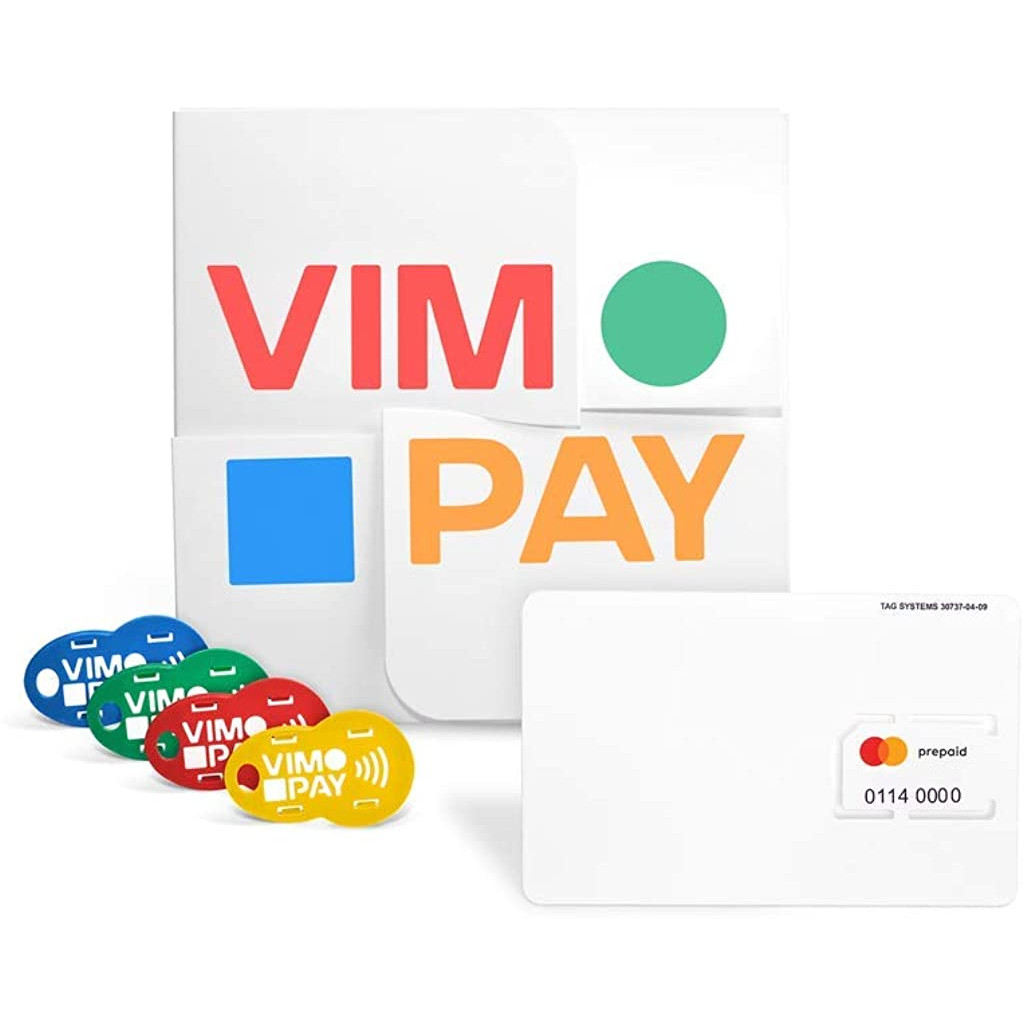
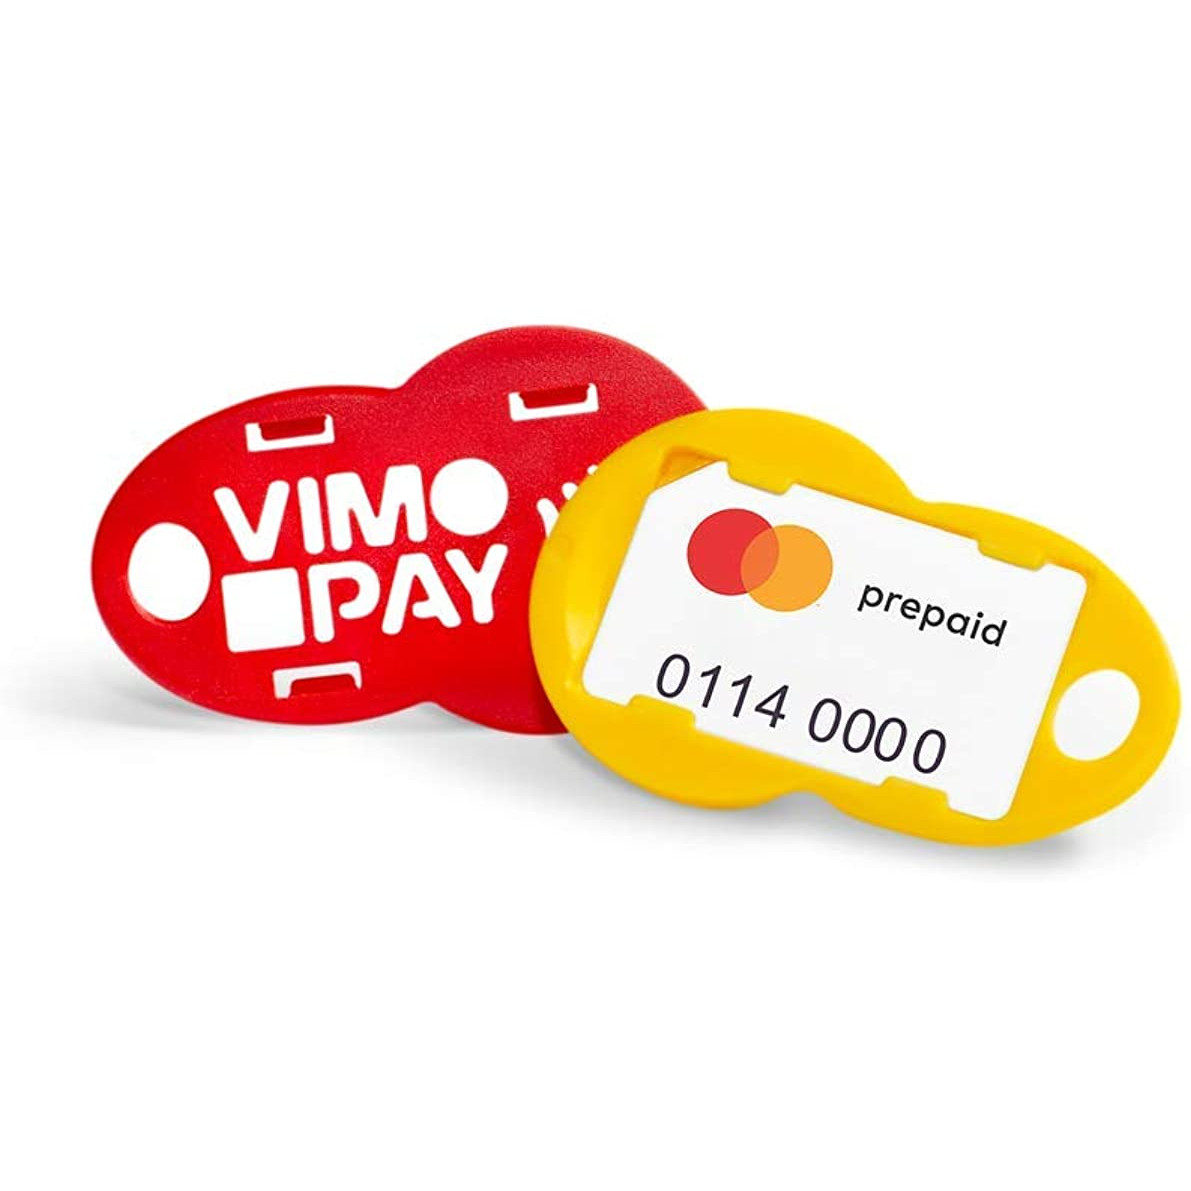
VIMpay (Germany)
The VIMpay GO v2 contactless mini card module is used to slide into wearables and key fobs, and can be converted into a flexible implant.

- Check the VIMpay website to ensure your bank works with VIMpay.
- Purchase a VIMpay GO v2 card or wearable that comes with an insert card. One such source is Amazon.de.
- Take note of the special code on the card
- When you are ready to proceed, follow these Steps To Conversion.
- Final device will be 17mm wide x 27mm long x 0.5mm thick
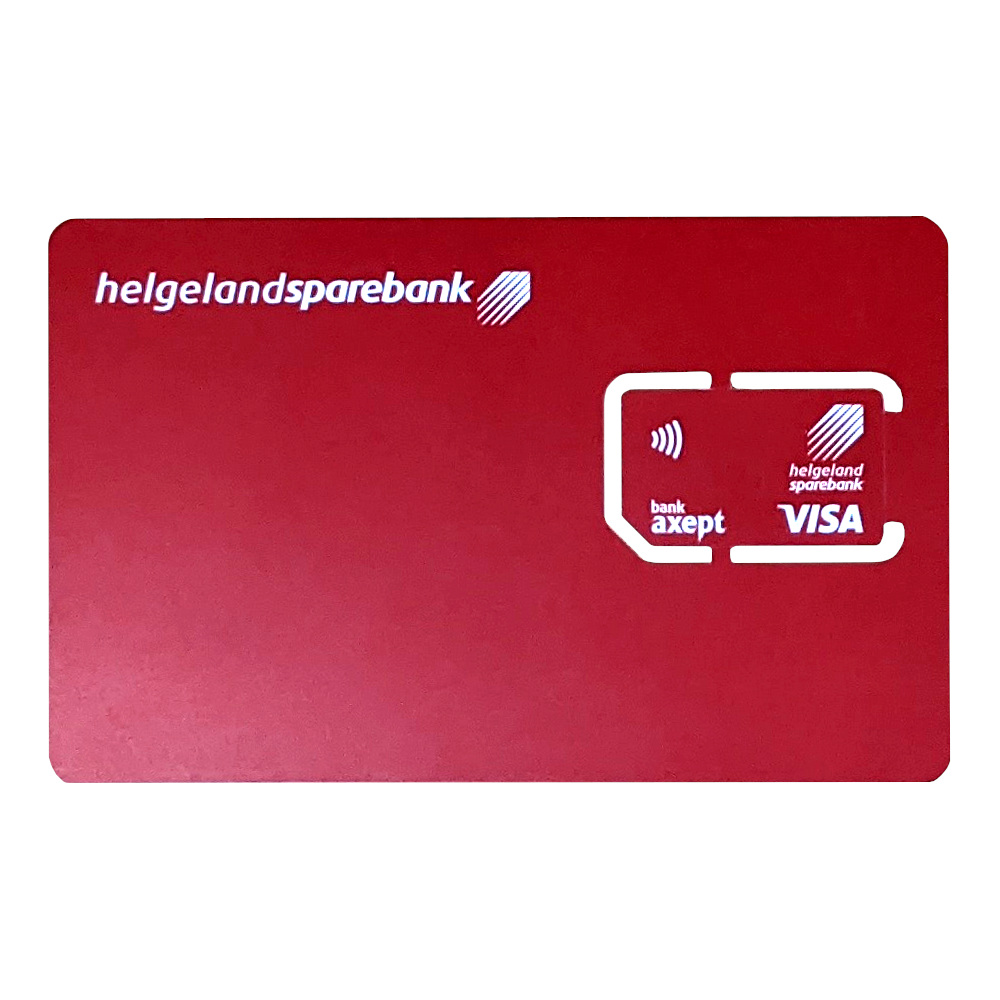
Helgeland Sparebank (Norway)
Helgeland Sparebank offers a mini card module to their customers which can be converted into an implantable payment device.
- Purchase a mini card from Helgeland Sparebank
- Take note of the special code on the card
- When you are ready to proceed, follow these Steps To Conversion.
- Final device will be 17mm wide x 27mm long x 0.5mm thick
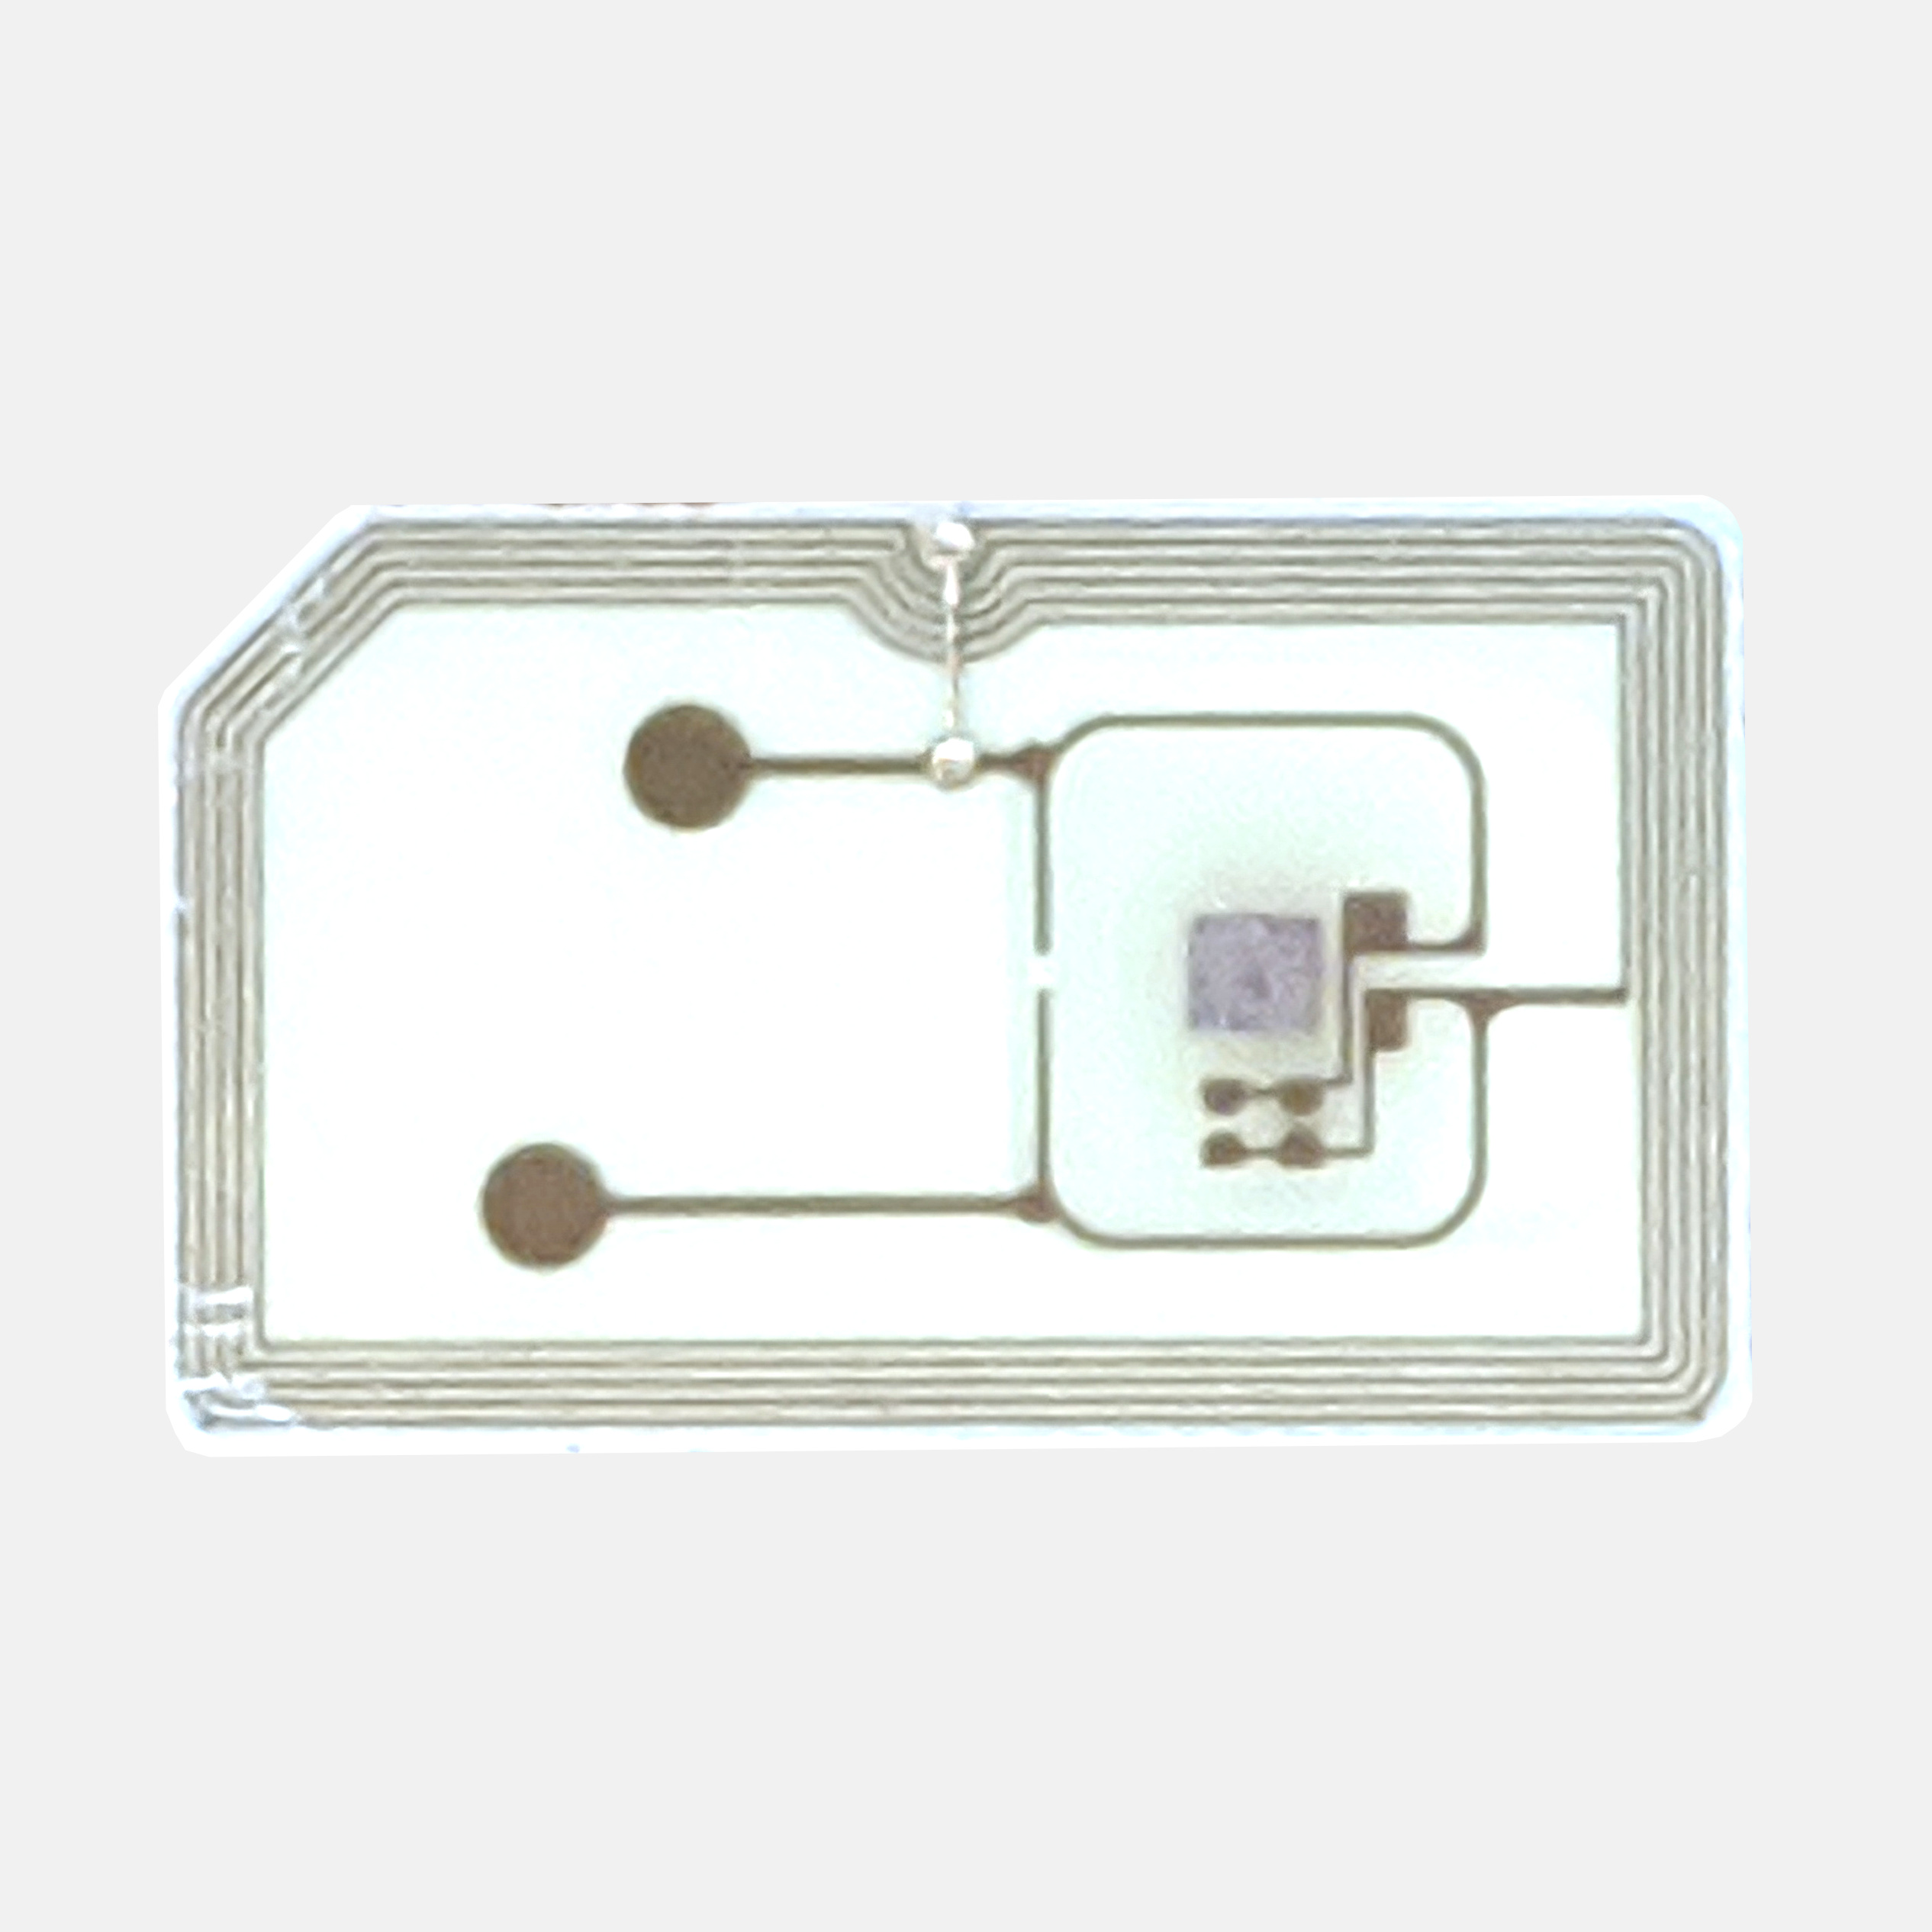
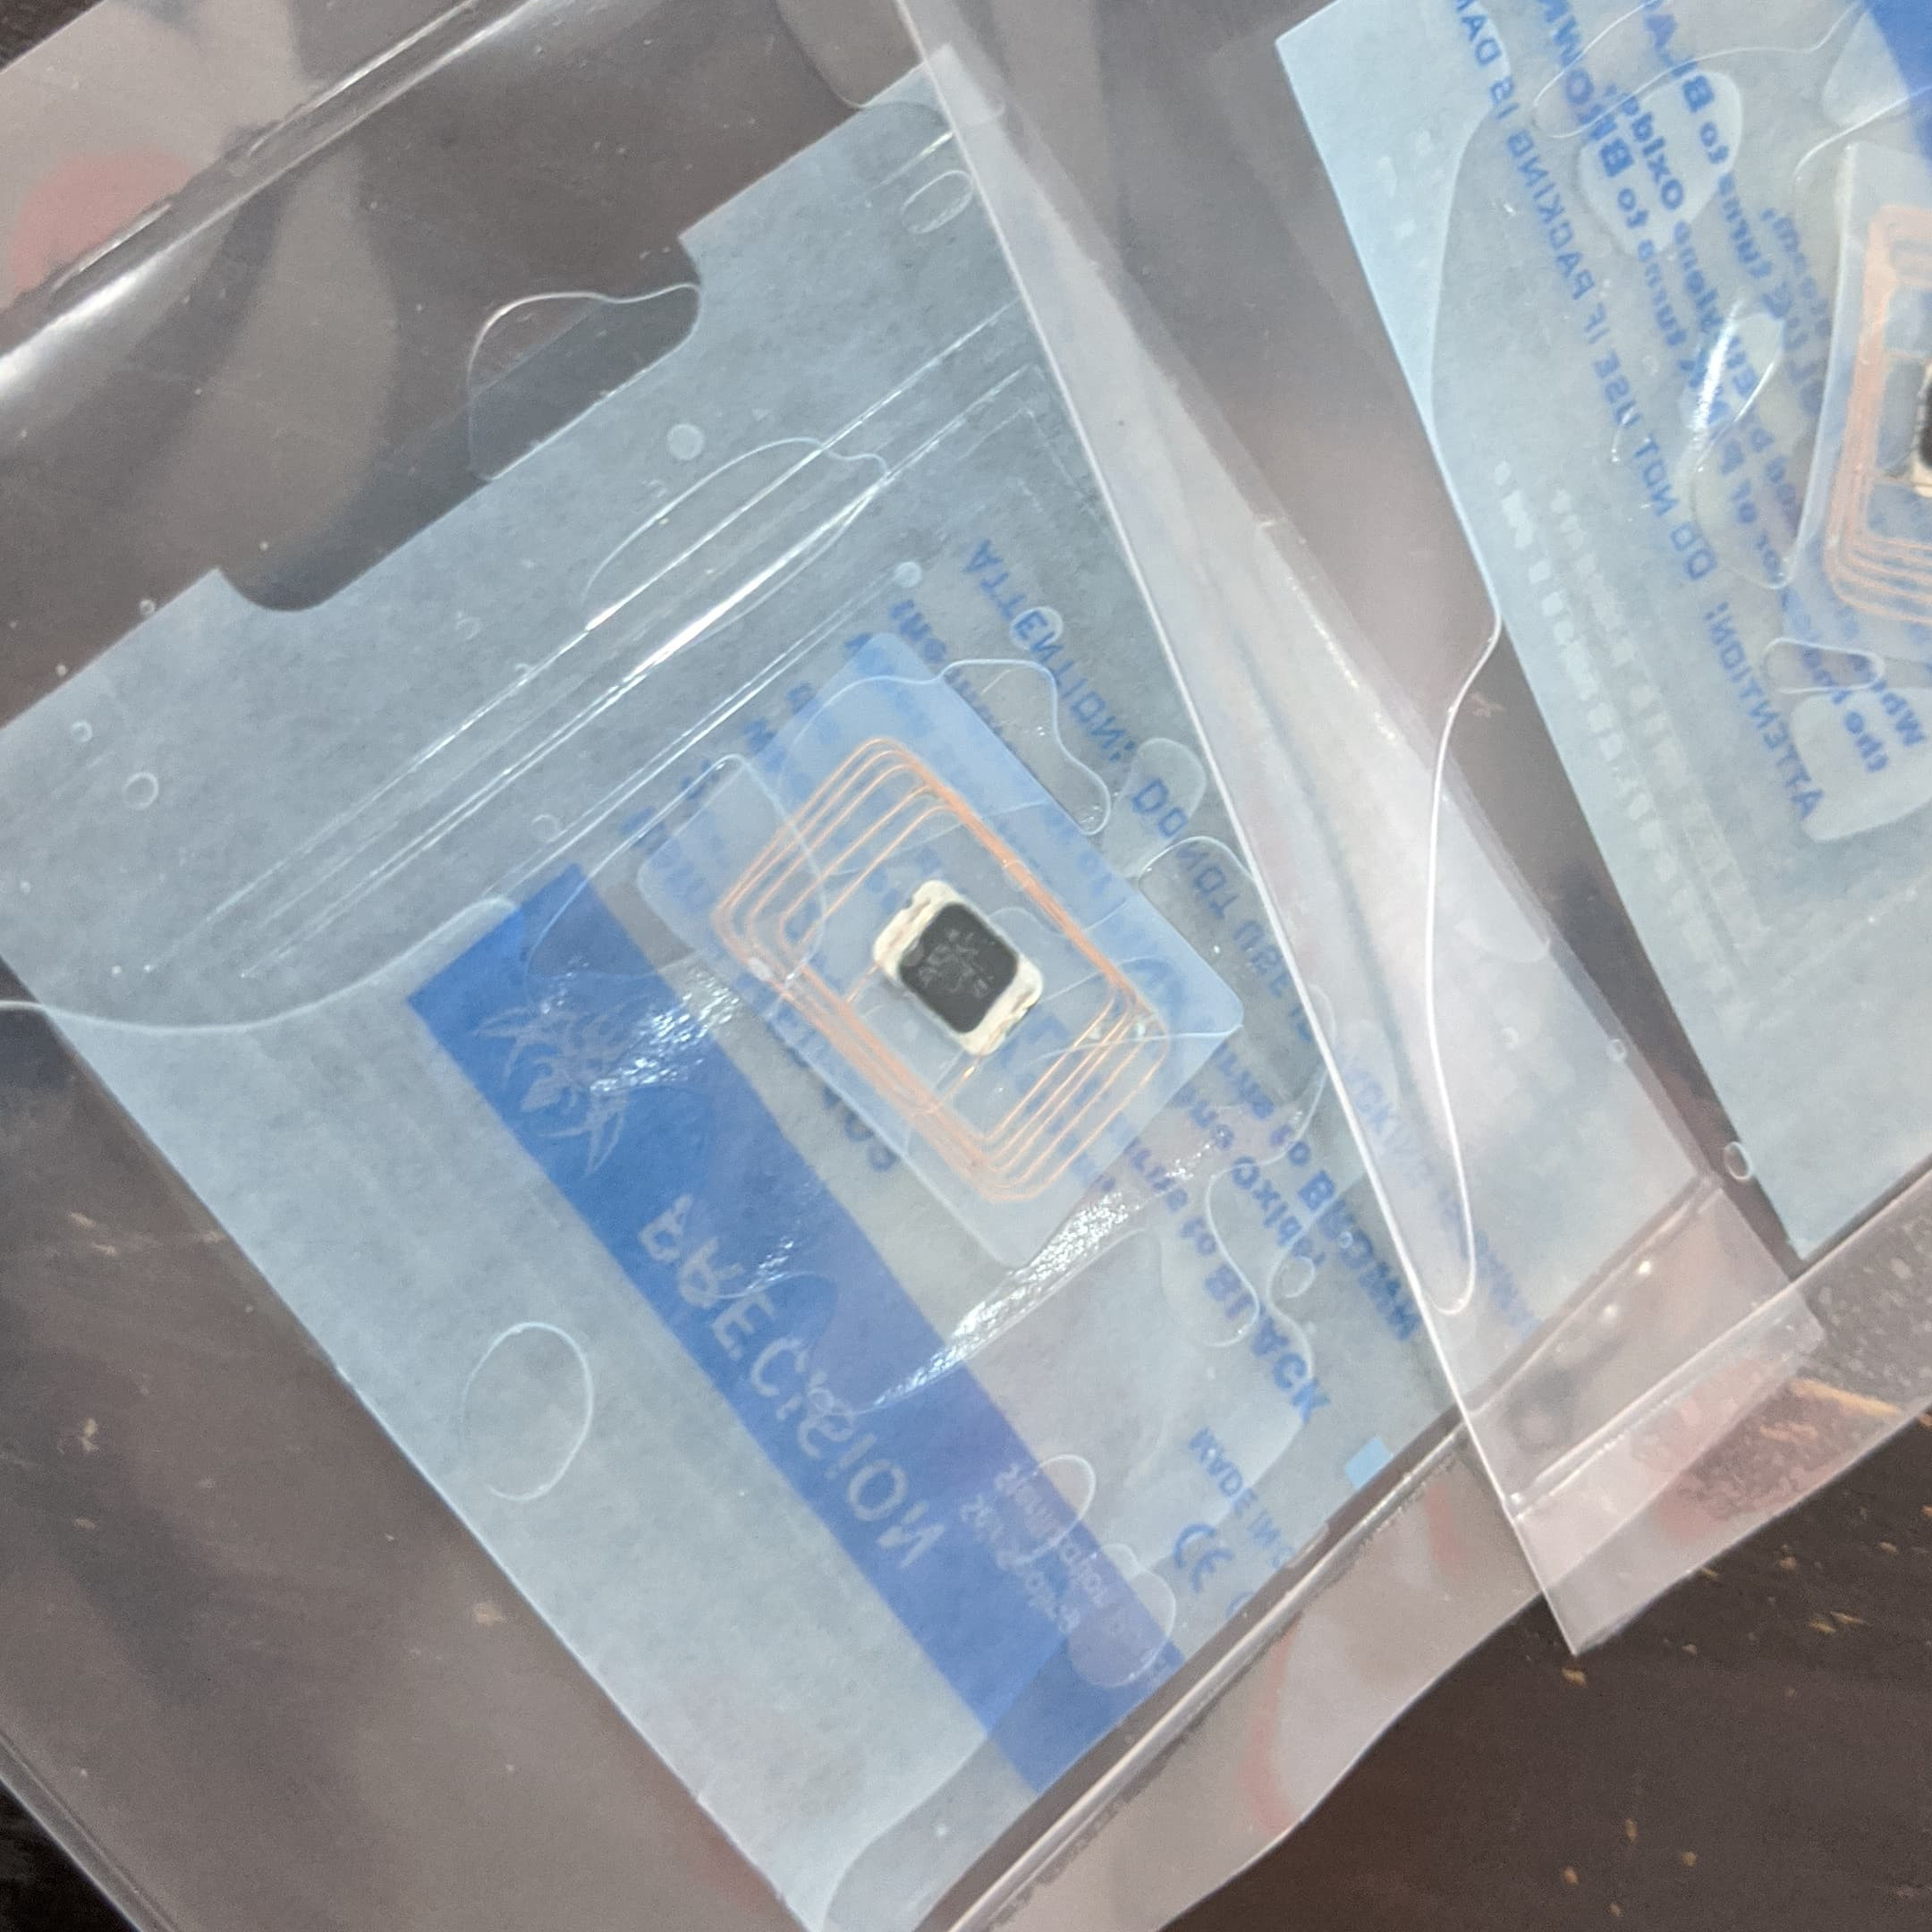
CoM (Coil on Module)
In recent years a new type of tap-to-pay module has become quite common due to a decrease in manufacturing costs. Fortunately for you, we’ve found a way to exploit it. This allows us to convert cards you may already have in your wallet! Unlike our other conversions, this one is too large to be installed with our 4g needle–you’ll need to find an installer capable of doing advanced procedures.
Take a close look at the chip in your cards for this:
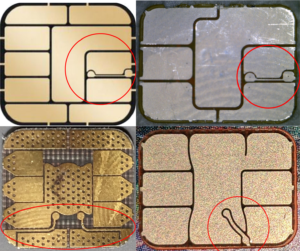
This module is not directly wired to the card’s antenna as has been the manufacturing method before. If you don’t see a feature like those above, put a bright light behind the chip and check for wires connecting to it. If you see them, it’s definitely not a CoM.
Still not sure? Snap some pictures and head over to the forum.
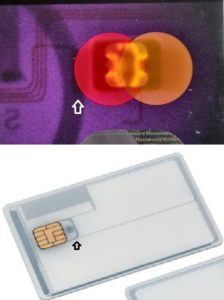
Have a CoM card? You’ll need to extract the chip before ordering your conversion:
The Coil on Module was laminated into the PVC of the card during manufacturing, but it is in fact a standalone flex PCB which can be removed without much difficulty.
One method is to use acetone to partially dissolve the card until it has de-laminated to the point that the CoM can be pulled loose.
- Make sure to do this outdoors or in a well-ventilated area.
- The acetone can be purchased from a pharmacy, beauty product, or home improvement store. You will likely want 90% or greater concentration acetone to speed up the process
- Use a glass or ceramic container, do not use plastic
- Avoid contact with your skin and eyes
- Place the card in the container and pour in just enough acetone to cover the card. Do not seal the container completely, but you can partially cover it
- Wait ~15 minutes and check on the card. Some are made of hardier materials than others, so they may require more time. You may need to top-up the acetone a few times as it evaporates
- After the card has begun to de-laminate, you can begin poking at it with metal tools. Try not to damage the CoM itself, but the rest of the card can be destroyed
- Once enough material has been removed, the CoM should come loose relatively easily
- Leave the CoM on a napkin or paper towel so that all the acetone can evaporate away
Another method is to use a device like a hair straightener to heat the area of the card around the CoM enough that it can be popped out. I would avoid exceeding 200°C so you do not damage the electronics. After a few seconds of heating, the card should be soft enough to bend and pry the CoM loose. Be careful using metal tools, as you may damage the antenna traces on the underside.
New / Unknown Devices
If you want to convert something that is new or unknown, contact us via the floaty help button at the lower right of this website, or post to our forum in the support category. We will make an educated guess as to whether or not conversion is possible.
Steps To Conversion
- Step 1 – Locate a doctor or body modification artist willing to perform the installation! Do this first please. If you need assistance, check our partner map first. If you are unable to locate a professional, you can follow this guide for approaching a professional in your area. Finally, sometimes the wonderful people on our community forum have experience with professionals who have performed their installations, but are not on our partner map.
- Step 2 – Take note of any account numbers or payment ID information on the micro-card before shipping to us. You should also consider setting up your account with the payment service, bank, or vendor and making a working payment to confirm it works how you expect it to work.
- Step 3 – Take note of the expiration date. This may be printed on the product box or packaging the card came in, or on an insert inside the packaging. Put this date in your calendar as “Payment implant death date” so you know when to expect to schedule a removal or replacement procedure.
- Step 4 – Purchase this service. Be sure to use your correct return shipping address under the shipping details section when checking out. You will receive shipping instructions in the order confirmation email. Be sure to read the order confirmation email!
- Step 5 – Print the order confirmation email you will receive with your information on it and place it into a box along with the micro-card and ship it to us.
- Step 6 – Reply to the order confirmation email you received with tracking information for your shipment!
- Step 7 – Wait. We do not schedule conversions. There is no ETA on them as they are handled as we have time.
- Step 8 – We ship the converted card back to you at the shipping address given during checkout. In the event of a conversion failure, we will ship any remains of the attempt to you and refund you 50% of the service fee.