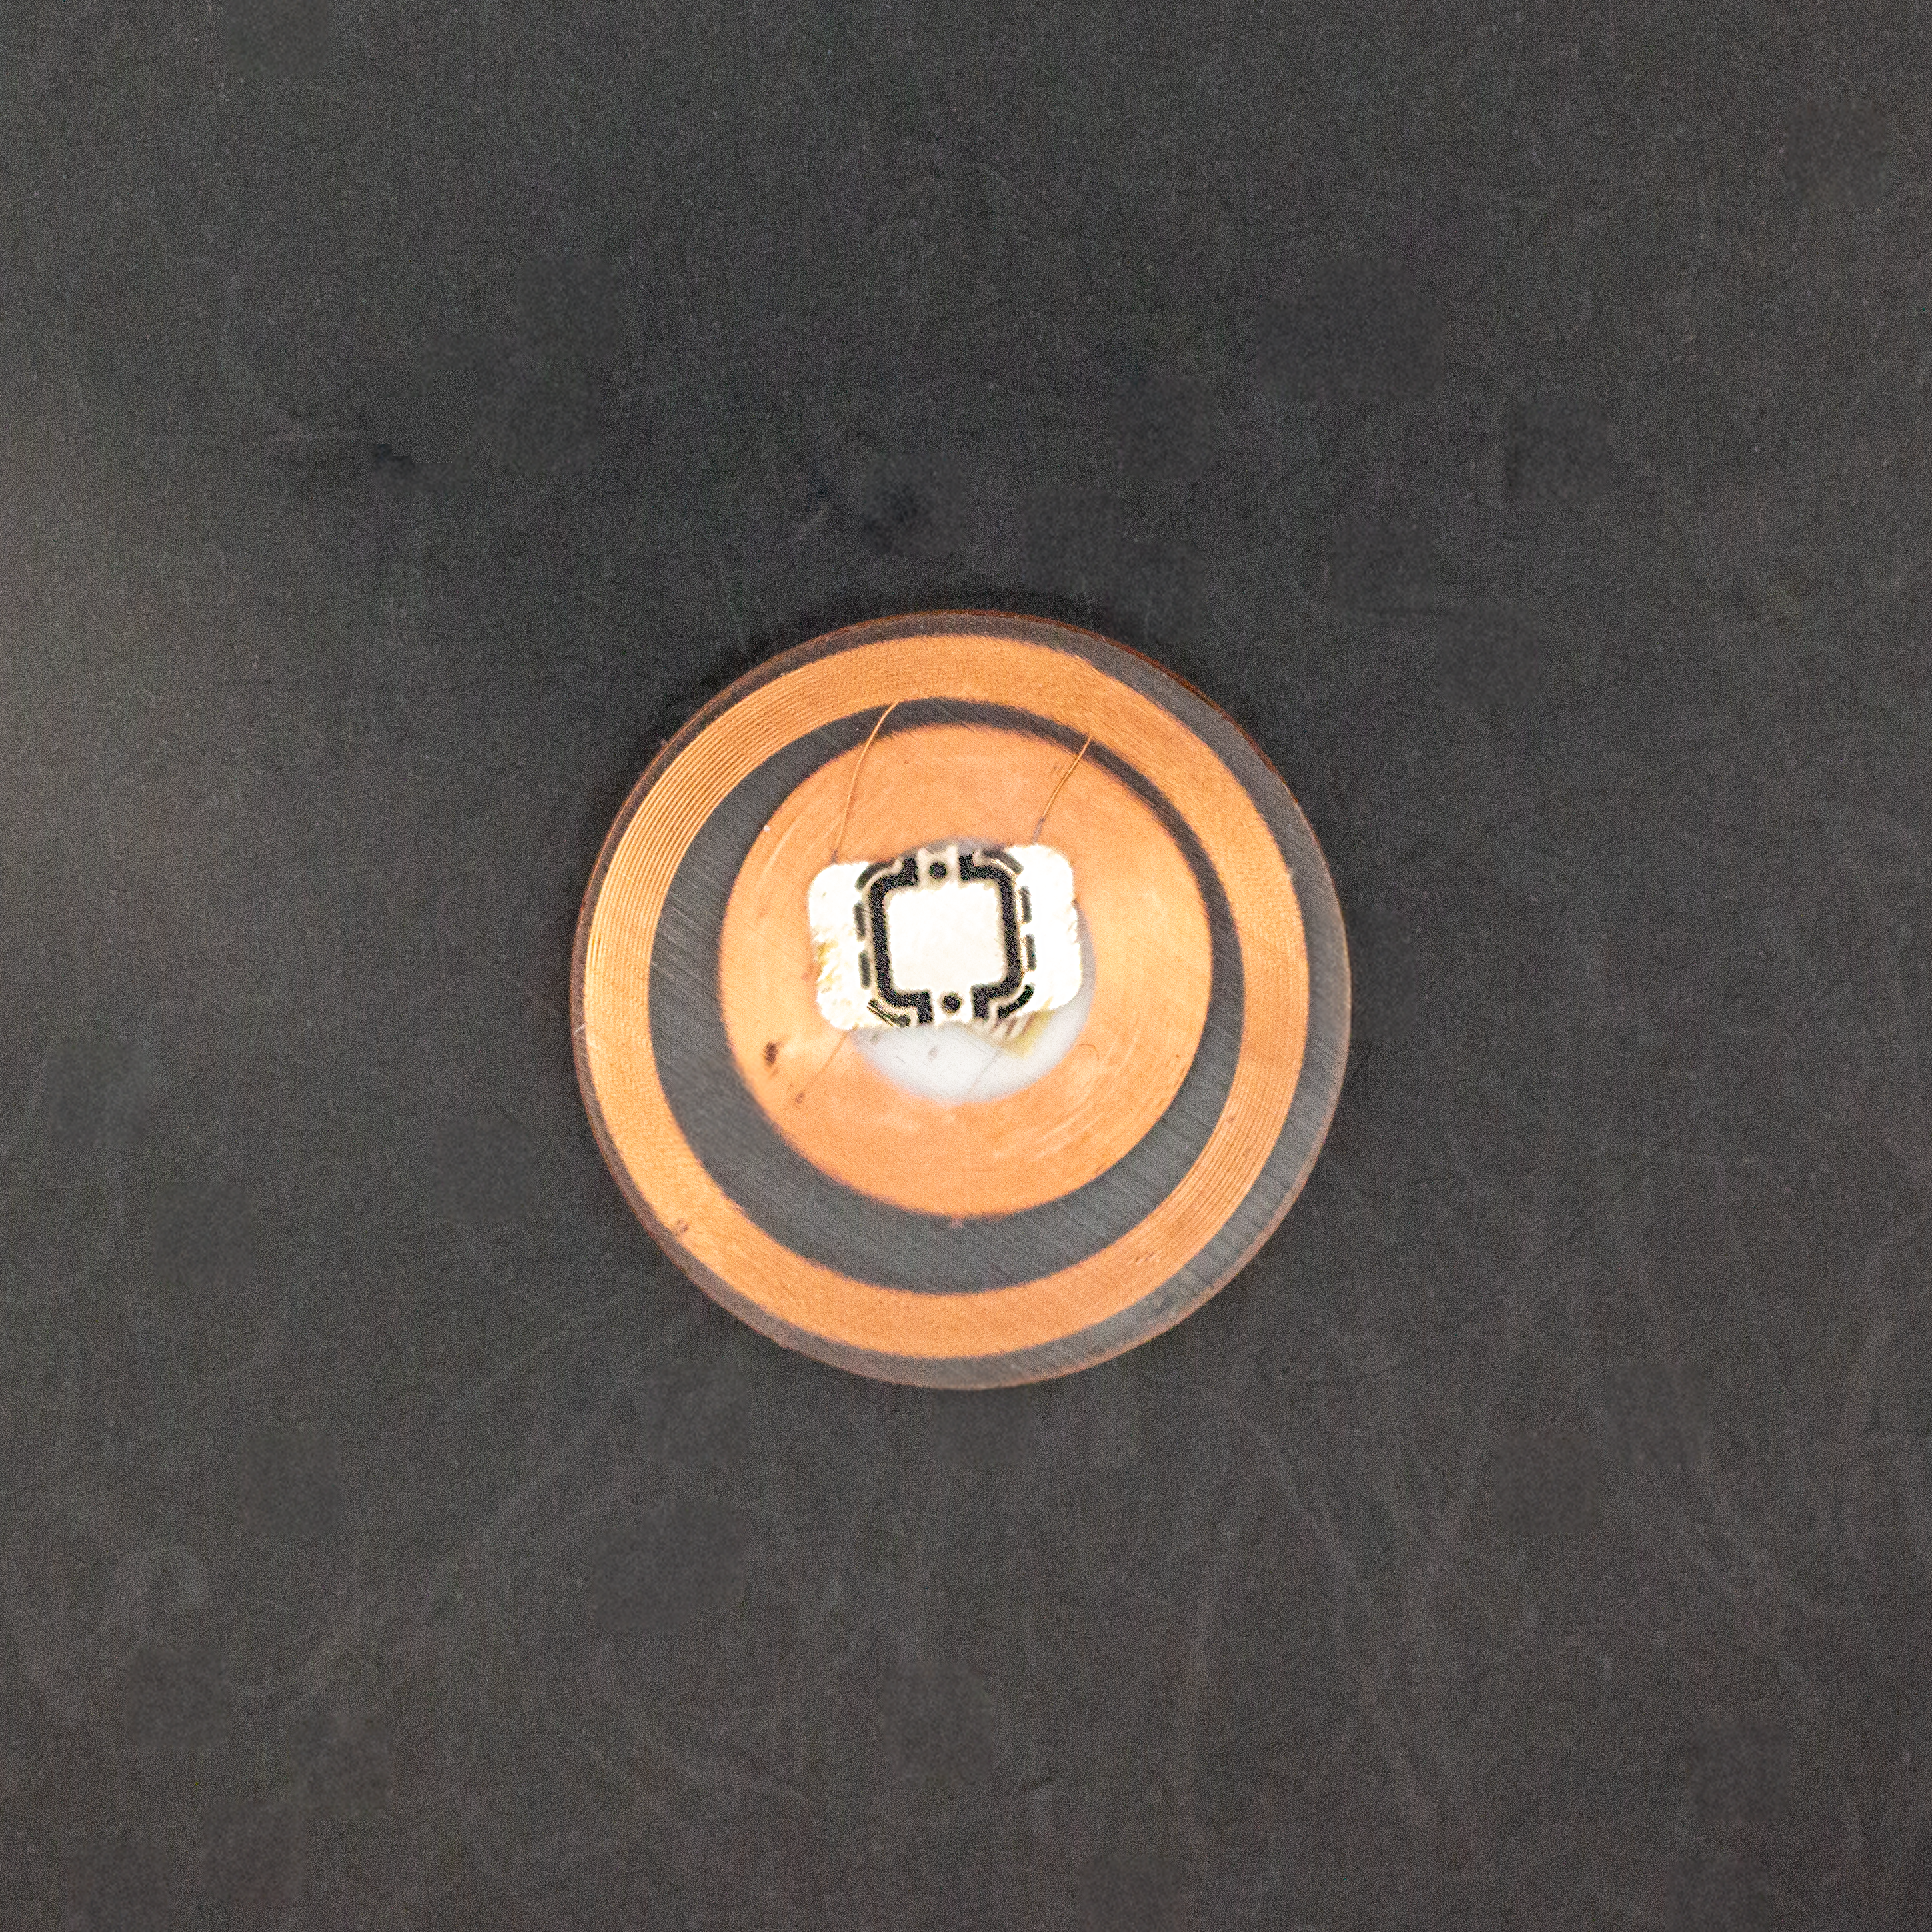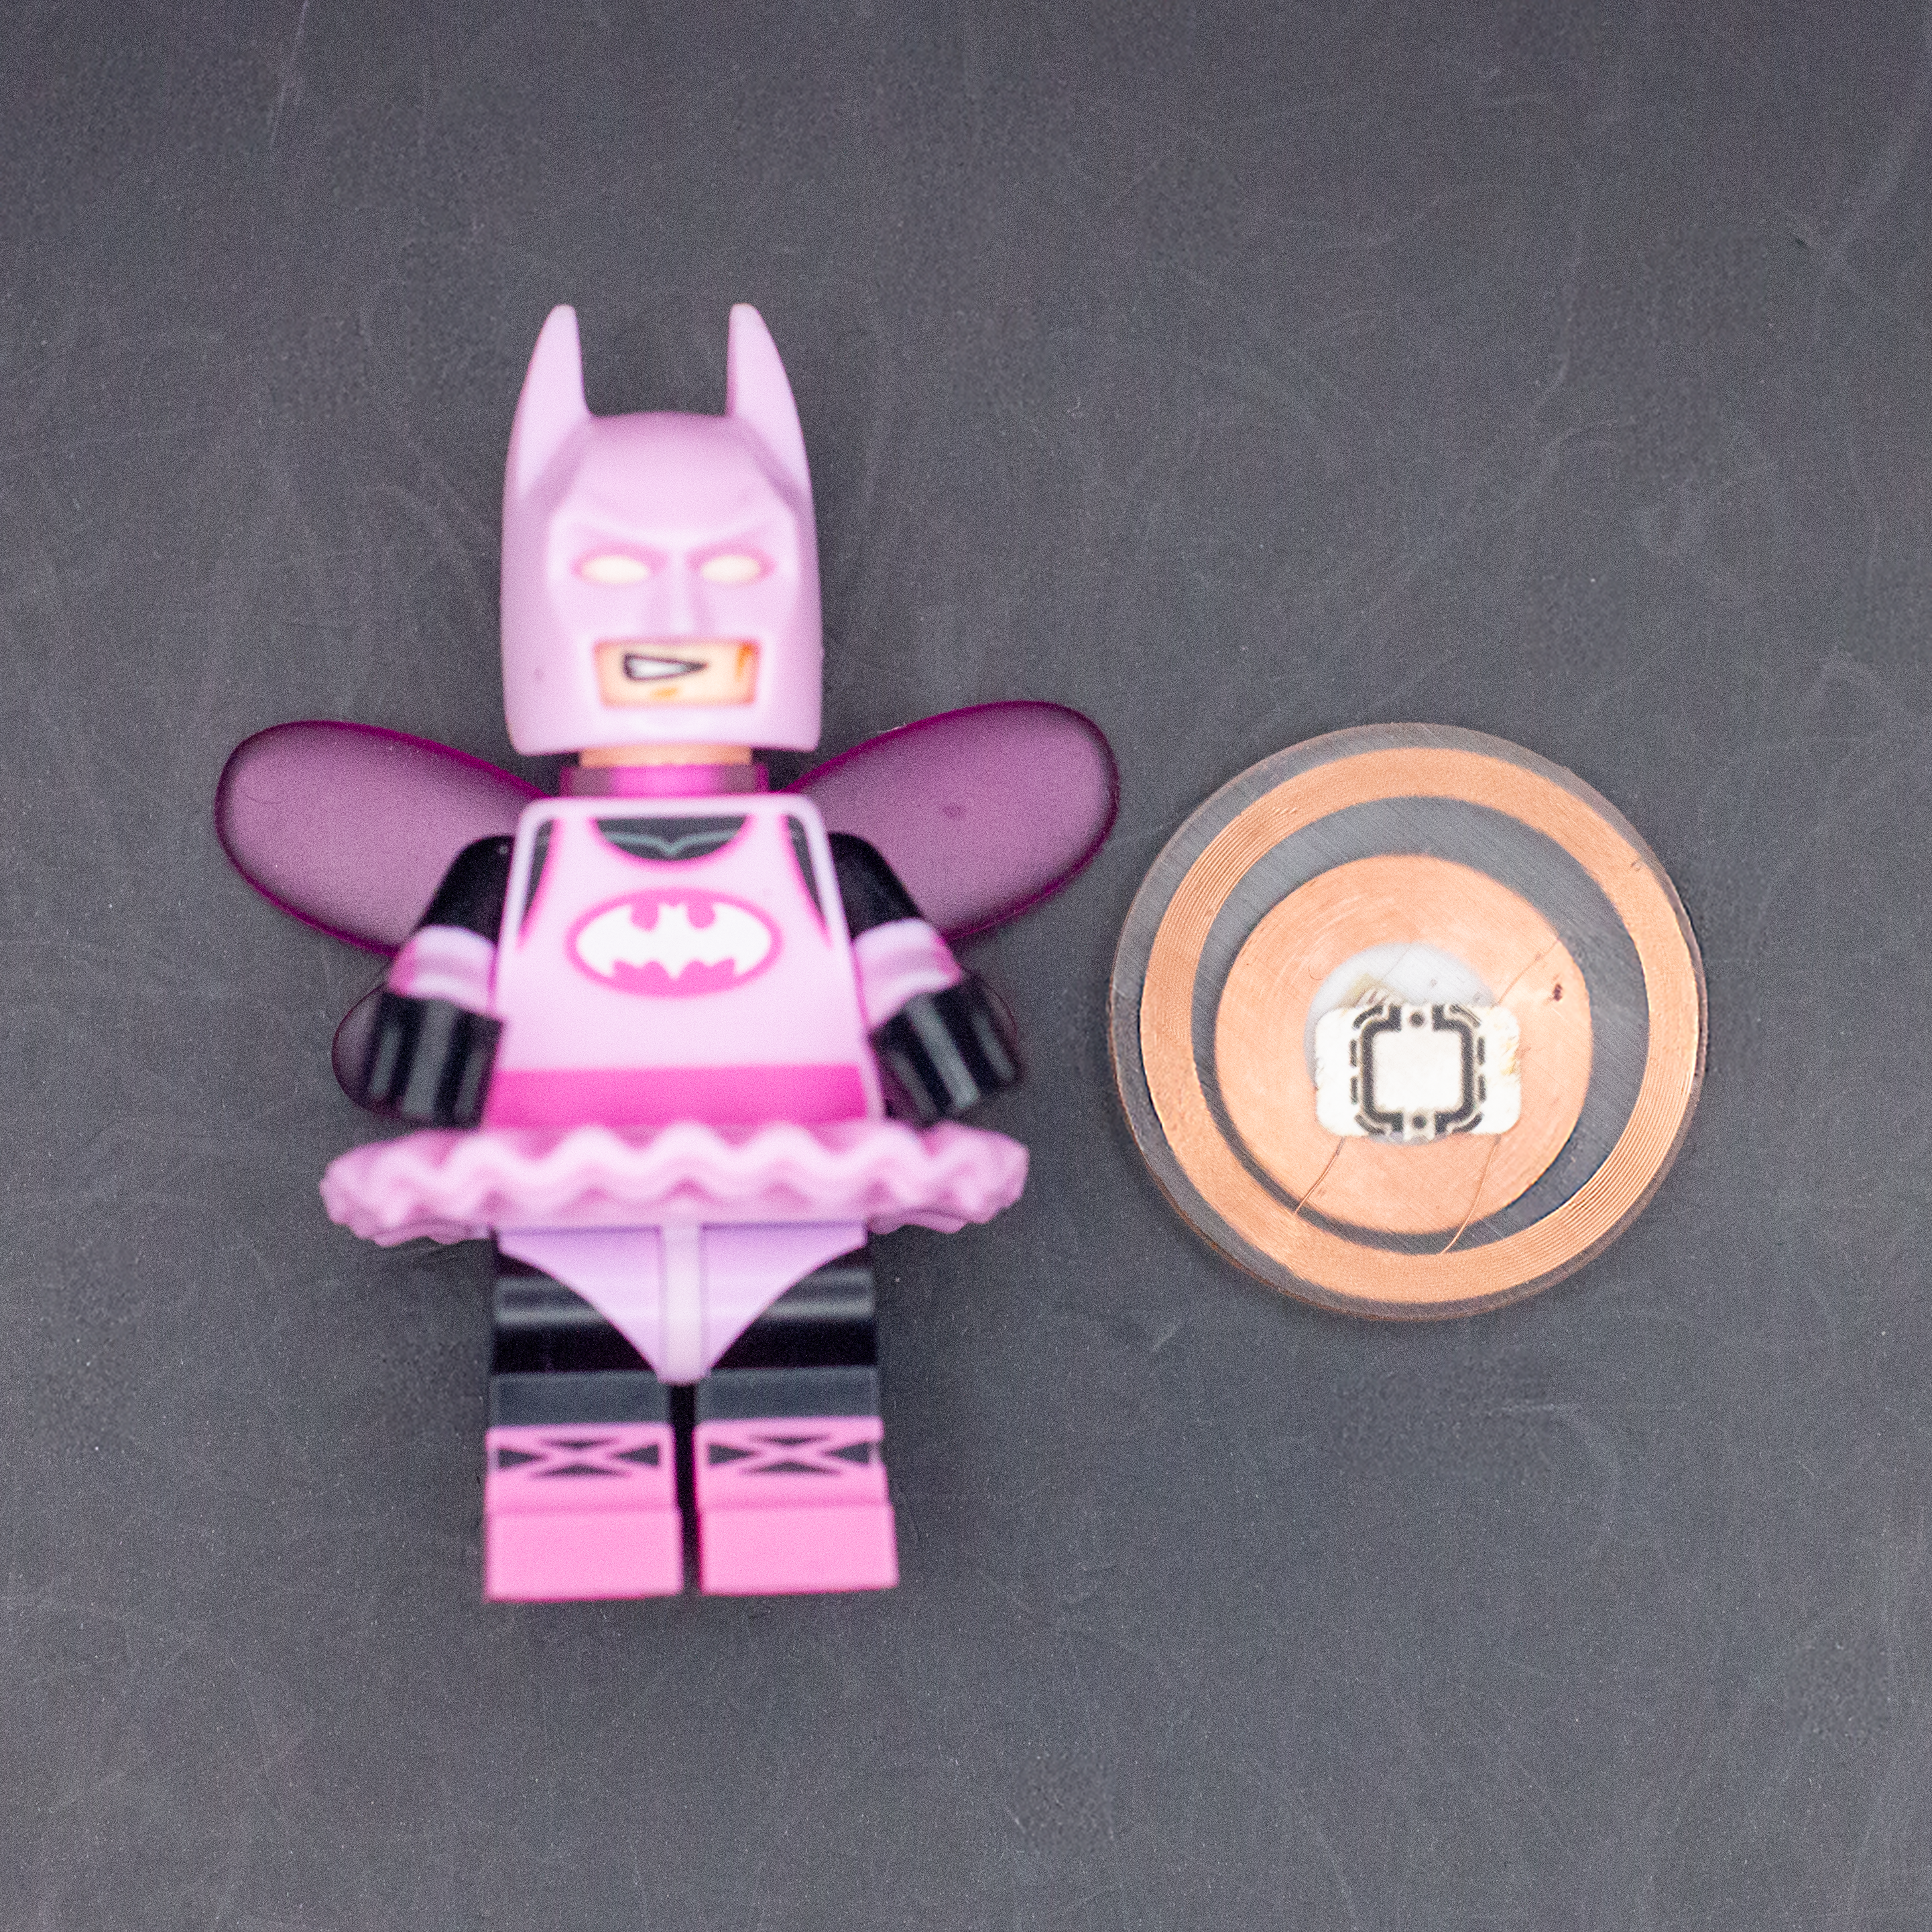

dUG4T – Ultimate Gen4 + T5577
The dUG4T is an Ultimate Magic gen4 + t5577 emulation duo. It can emulate a variety of different LF (125kHz) and HF (NFC, 13.56 MHz) chips and has writable Sector 0, also known as the “manufacturer block.”
- 13.56MHz Ultimate Magic gen4 chip (version 06 A0 )
- 24mm x 2.5mm in a rigid bioresin package
- 4/7/10 byte UID and all of sector 0 is writable
- Can emulate a variety of ISO14443a chips
- 125kHz T5577 chip
- Can emulate most LF chips
$429.00 – $564.00
HF Side Demo with Proxmark and Android Phone
More Details
WARNING This kit definitely contains dangerous things. While the biopolymer used to encapsulate our flex products is USP Class VI and ISO 10993 certified, our flex products have not been tested or certified by any regulatory agency for implantation or use inside the human body. Use of this device is strictly at your own risk.What can this chip implant do?
-
- Some types of access control applications
- Scan this chip implant to log into your computer
- Share data with NFC enabled smartphones
- Trigger events on NFC devices like smartphones
- Emulate various HF chips:
-
- MIFARE Mini S20 4/7/10 byte UID
- MIFARE 1k S50 4/7/10 byte UID
- MIFARE 4k S70 4/7/10 byte UID
- MIFARE Ultralight EV1
- NTAG 210/212/213/215/216
-
- Configurable HF parameters:
-
- Preset card types (see above)
- UID
- UID Length (4/7/10-byte)
- SAK (1 byte)
- ATQA (2 bytes)
- ATS (Custom length / Disable)
-
- Emulate various LF chips:
-
- EM410X
- EM4200
- HID 1326 ProxCard II
- HID 1346 ProxCard III
- Indala
- Pyramid
- Viking
- AMV
- Presco
- And more…
-
What this chip implant can’t do
• Can’t make payments with this chip implant
• Chip implants can’t be used for GPS or tracking
Common questions
• Q: How can I program the HF side?
• A: The easiest method is using a proxmark and the LUA script hf_mf_ultimatecard
• Q: What if I’m looking for more control programming the HF side?
• A: Check out this link on Github for a command listing with examples.
• Q: How an I program the LF side?
• A: Check out this video on identifying and cloning common LF transponders.
WARNING If you decide to purchase one of these units, be aware that “magic” chips come from Chinese grey market suppliers. Because the silicon IC inside the dUG4T is not made by a large reputable RFID transponder company, proper functionality or performance is not guaranteed. That said, the dUG4 still comes with lifetime warranty protection.
Professional installation notes
Installation of a dUG4T device should always be done by a professional.
- Do not install under any gripping surface (e.g. no palm side installations)
- Do not install atop or parallel to any joints (flex devices are only “semi-flexible”)
