flexNT NFC Chip

  • 13.56MHz ISO14443A & NFC Type 2 chip
  • 8mm x 22mm x 0.4mm flexible biopolymer package
  • 5mm (4G) Flex Install Needle Included! *Details & Warning

More Details Installers

$149.99

More Details

WARNING This kit definitely contains dangerous things. While the biopolymer used to encapsulate our flex products is USP Class VI and ISO 10993 certified, our flex products have not been tested or certified by any regulatory agency for implantation or use inside the human body. Use of this device is strictly at your own risk.

The flexNT is one of our next generation, high performance, RFID and NFC compliant transponders. It is coated in USP Class VI, ISO 10993 tested biopolymer which gives it an extremely thin profile and flexible structure suitable for installation just about anywhere. The flexNT has the same NTAG216 based NFC chip as our injectable xNT chip implant, however the flexNT offers many times the readability, range, and performance of the xNT.

What can this chip implant do?

Some types of access control applications
Share data with NFC enabled smartphones
Trigger events on NFC devices like smartphones
Scan this chip implant to log into your computer

What this chip implant can’t do

Can’t copy other chip IDs to this chip, ID is set
Can’t make payments with this chip implant
Chip implants can’t be used for GPS or tracking

Important Things To Know

It’s going in your body, you should learn about things like performance expectations, installation procedure, first steps after installation, etc.

Biopolymer Safety Information
Material Safety
Our custom forumulated biopolymer is ISO 10993 and USP Class IV tested and certified. This means the material itself has been tested safe for permanent implantation, tissue irritation, direct blood contact, and cytotoxcitity. However, this testing is done on the material before it is used to manufacture a final product, and our flex products which use this biopolymer have not been tested, meaning it may be possible that material changes occured during manufacture which could render the final product unsafe in some way. That said, flex products have been implanted since April 2016 and we have had no reports of issues, reactions, or health complications due to our flex products being implanted. Dangerous Things founder and CEO Amal Graafstra underwent the first installation of a flex beta device on 03/02/2016 above the second metacarpal of the middle finger of his left hand. So far the installation has healed excellently and there are no signs of rejection or irritation at the installation site.

Placement Considerations
Unlike our glass encased devices like x-series chip implants, there is no “preferred” location for installation of a flex device. Customers are free to install a flex into any area of the body their installation professional is comfortable with, as long as it is in the fascia layer between dermis and muscle tissue and not in an area of flexion or under a gripping surface (like the palm side of the hand). Even though some of our images depict installation above the second metacarpal of one of the fingers, this is actually a very difficult location to install a flex. Fingers are filled with tendons, nerve bundles, and very important things all packed into a very tight space. We urge you and your installation professional to consider easier locations like the back of the hand or in the arm/wrist.
Professional installation notes
Installation of a flexNT device should always be done by a professional.

  • Do not install under any gripping surface (e.g. no palm side installations)
  • Do not install atop or parallel to any joints (flex devices are only “semi-flexible”)

Scalpel Procedure

  • Make a 9mm wide incision in skin
  • Lift & separate dermal layer using elevator tool
  • The subdermal “pocket” should be at least 30mm deep
  • Remove all tools from installation site
  • Slide flex device under skin with sterile gloves – no forceps or tools
  • Suture to close wound – do not pierce flex device while suturing

Needle Procedure

  • Incise skin using a 4g (5mm diameter) piercing needle, bevel side down
  • Carefully insert the needle to a depth of at least 25mm
  • Be sure to lift the skin ahead of the needle’s point as you insert it
  • Slide flex device under skin with sterile gloves – no forceps or tools
  • Achieve complete hemostasis before applying bandaging
  • Use re-enforced butterfly bandage or dermal strips to pull wound closed
  • Apply transparent film (tegaderm) dressing overtop the dermal strips
  • While hemostasis is maintained, do not remove bandaging for 7-10 days
Testing process, return policy, and warranty
Functional Testing
Our flex chip implants come packaged in something we are dubbing a “squishpack”, which is a standard tyvek sterilization pouch that contains the flex implant, which is then packaged inside a sealed polymer bag with chlorhexidine soluiotn. We perform functional tests on the flex implant before shipping, and you are also able to easily test it before opening the squishpack for installation.

Material Testing
We have conducted various tests on our x-series chips, and have begun documenting similar tests on our flex implants. As more tests are performed and documented, they will appear on our flex test page.

Return Policy
We offer a 30-day money back guarantee! Read all about it on our return policy page.

Limited Warranty
If you do purchase one of our products and experience a failure, we offer a pretty good warranty on all of our implant products. You will need to return the product for testing and analysis, and if it is determined to be malfunctioning, we will ship you a replacement free of charge. Read all about it on our warranty policy page.
NTAG Chip Security
Why is this important?
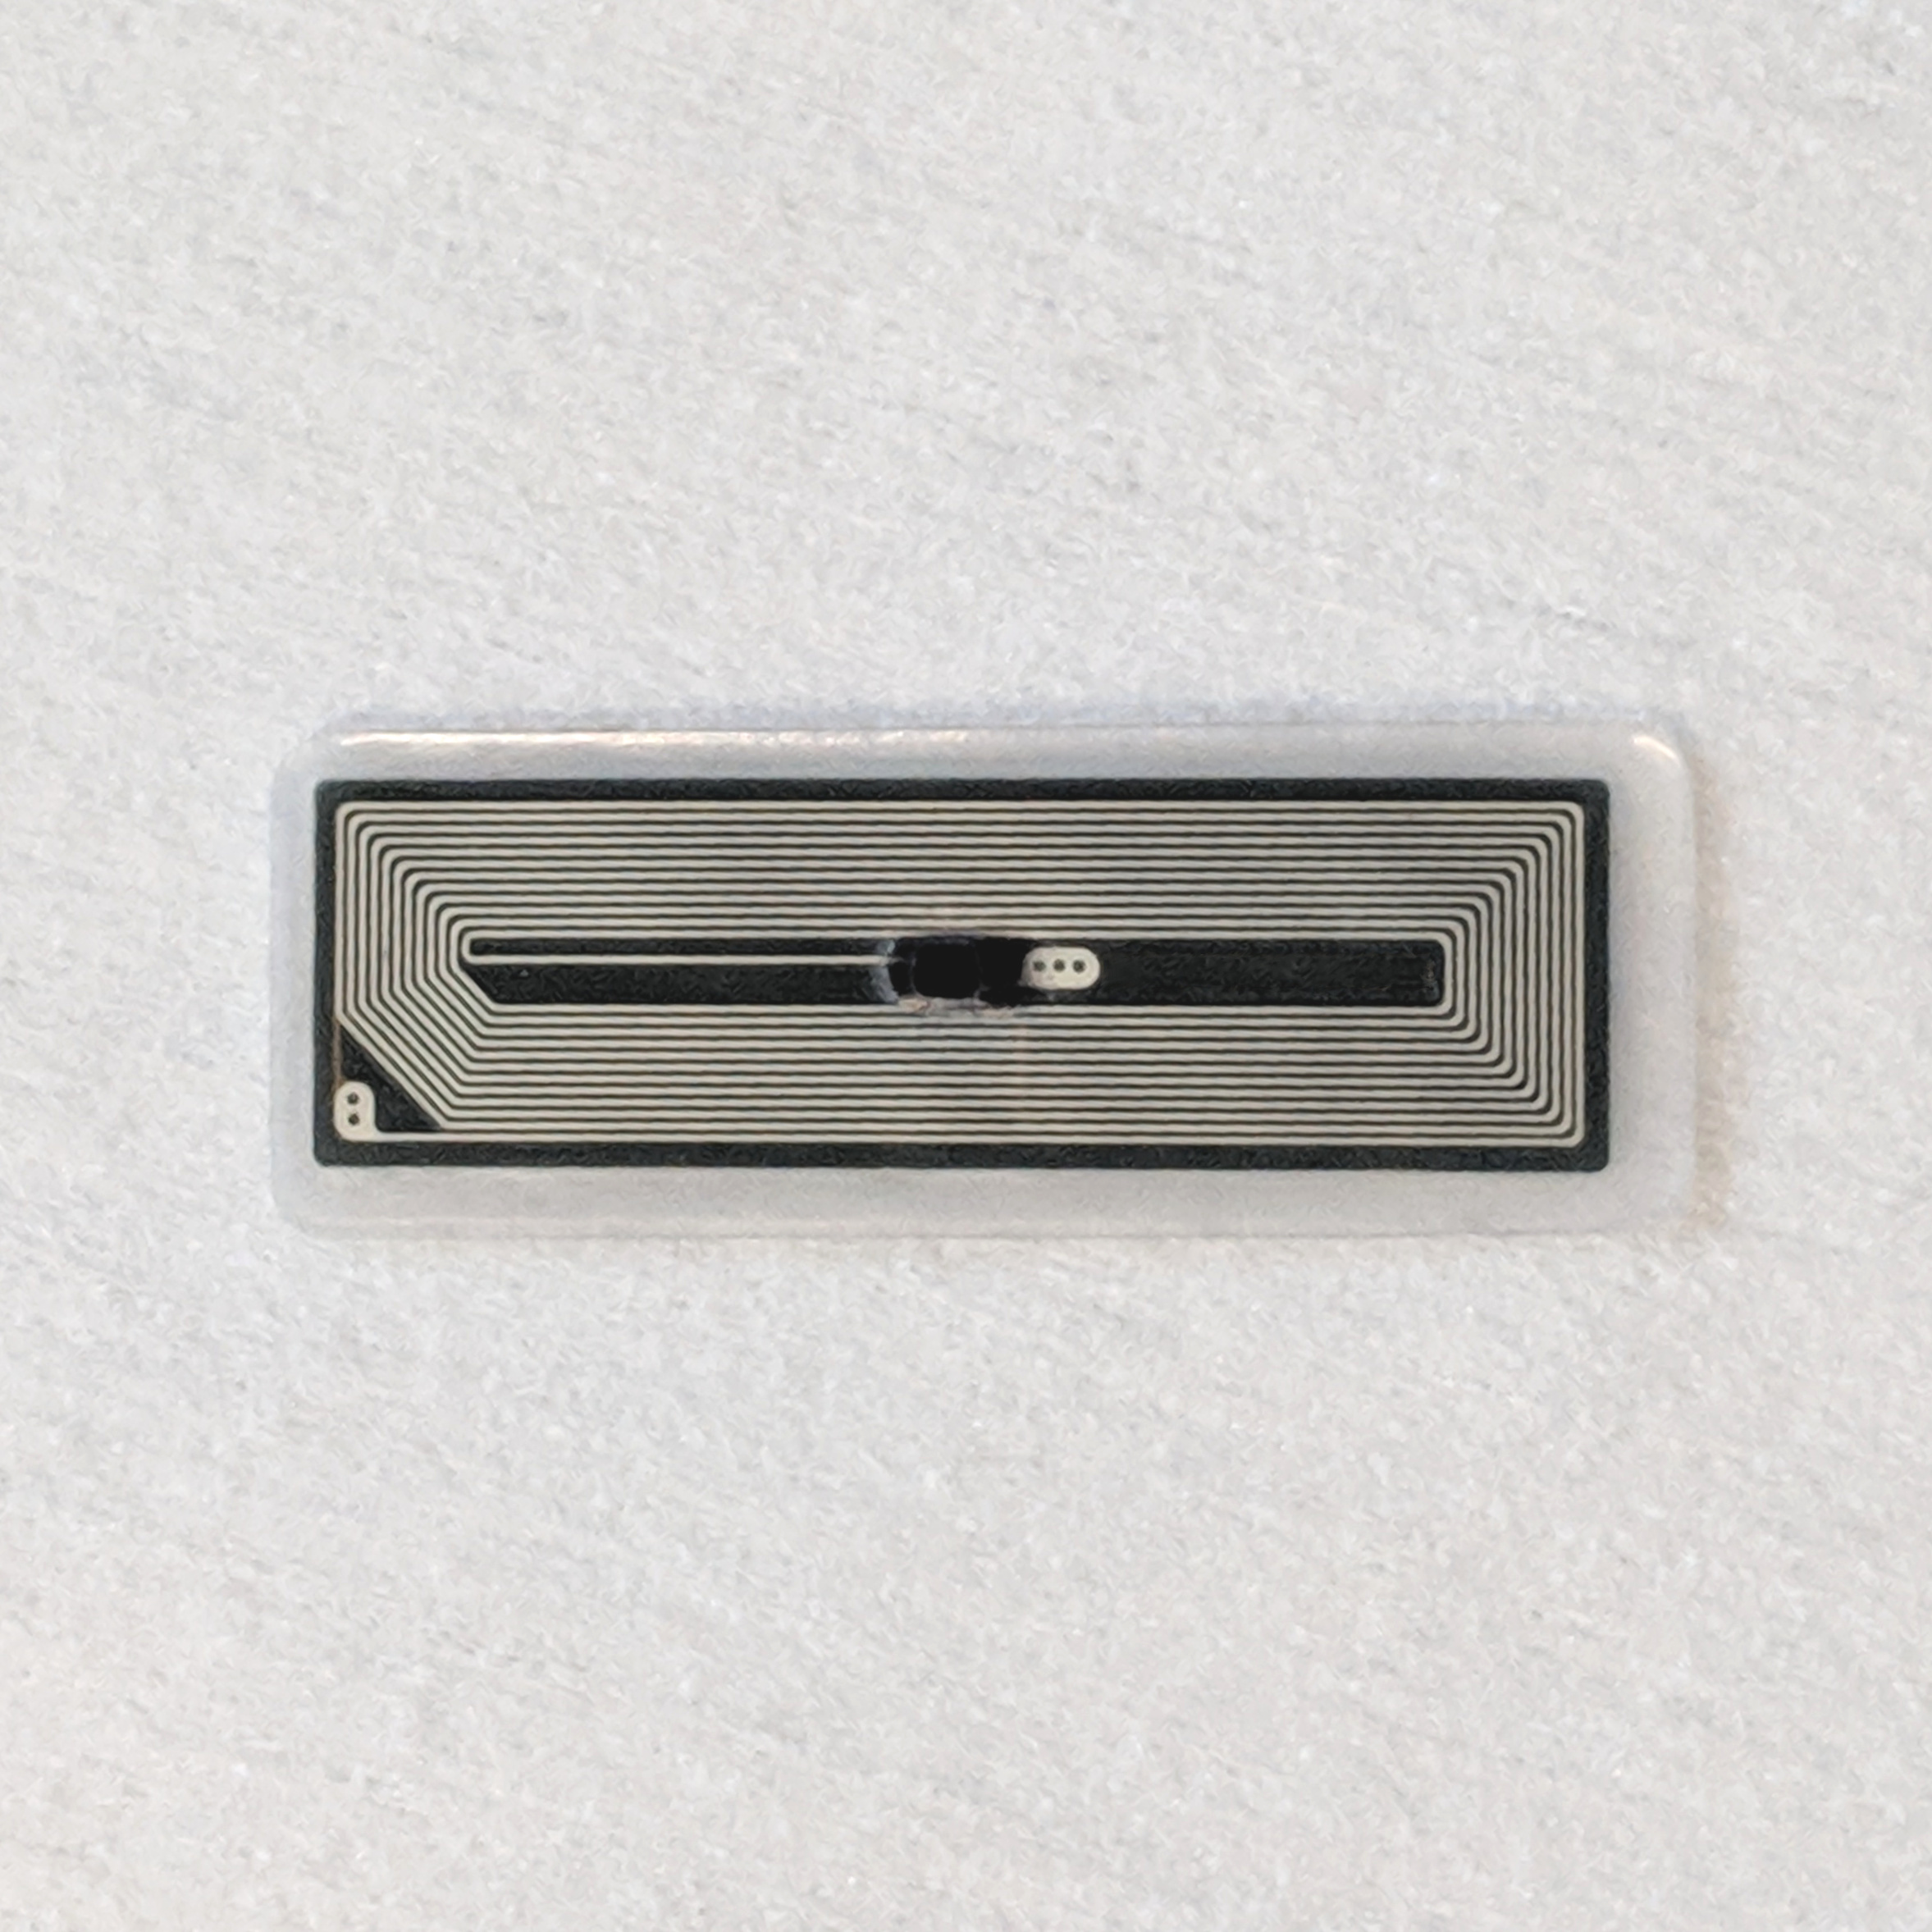
The NFC chip inside this product is an NTAG family chip from NXP. This chip type was designed for use in more typical NFC applications such as smart posters, labels, and other disposable use cases where the memory contents would typically be written and then locked so it could not be changed. This is done using built-in “lock bytes” which are OTP (one time programmable). That means that once the lock bytes are turned on to protect memory blocks, they can never be unlocked. Once any memory block is locked, it will forever be read-only, which is not ideal for a chip implant. Also, many common NFC smartphone apps and software applications offer ways to “lock” or “protect” your tag, making it very easy to accidentally lock your xNT as read-only. Because of this, we have disabled the ability to change or set the lock bits in the NTAG chip inside this product.

In addition to lock bytes, the NTAG offers a 32bit password protection function. It can be used to password-protect just writing to or both reading from and writing to the user memory space of the NTAG chip. Regardless of what some NFC smartphone apps indicate, it is not possible to remove or disable the password, it is only possible to set the password to the factory default hexadecimal value of 0xFF 0xFF 0xFF 0xFF. If the password is not changed, and is set to the factory default, then anyone could easily authenticate, change your password, then write data or change protection options for your chip implant to lock you out of your own chip. Because of this, we set a default password value of 0x44 0x4E 0x47 0x52 which is ASCII code for DNGR (some older batches of NExT chips have the password 0x4E 0x45 0x78 0x54 which is the ASCII code for NExT).

Finally, many of the critical configuration bytes used by NTAG chips are stored in the last few pages of the chip’s memory. This means that it may be possible for an NFC application that does not properly detect or honor the memory schema of the chip to accidentally attempt to write NDEF record data (the data you’re trying to store on the chip) overtop of the configuration bytes. For example, if the data you are attempting to write is longer than the memory pages available, the remainder of the data might be written overtop of configuration bytes, which contain settings that are potentially dangerous to modify. Accidentally writing to those memory pages could result in your chip’s configuration being irreversibly locked. Because of this, we password-protect the configuration bytes from being able to be written to or updated by using the password feature of the NTAG chip. Your chip implant leaves our factory with the entire user memory space still fully accessible and writable, while at the same time the protect the configuration bytes and password values from being accidentally or maliciously overwritten.

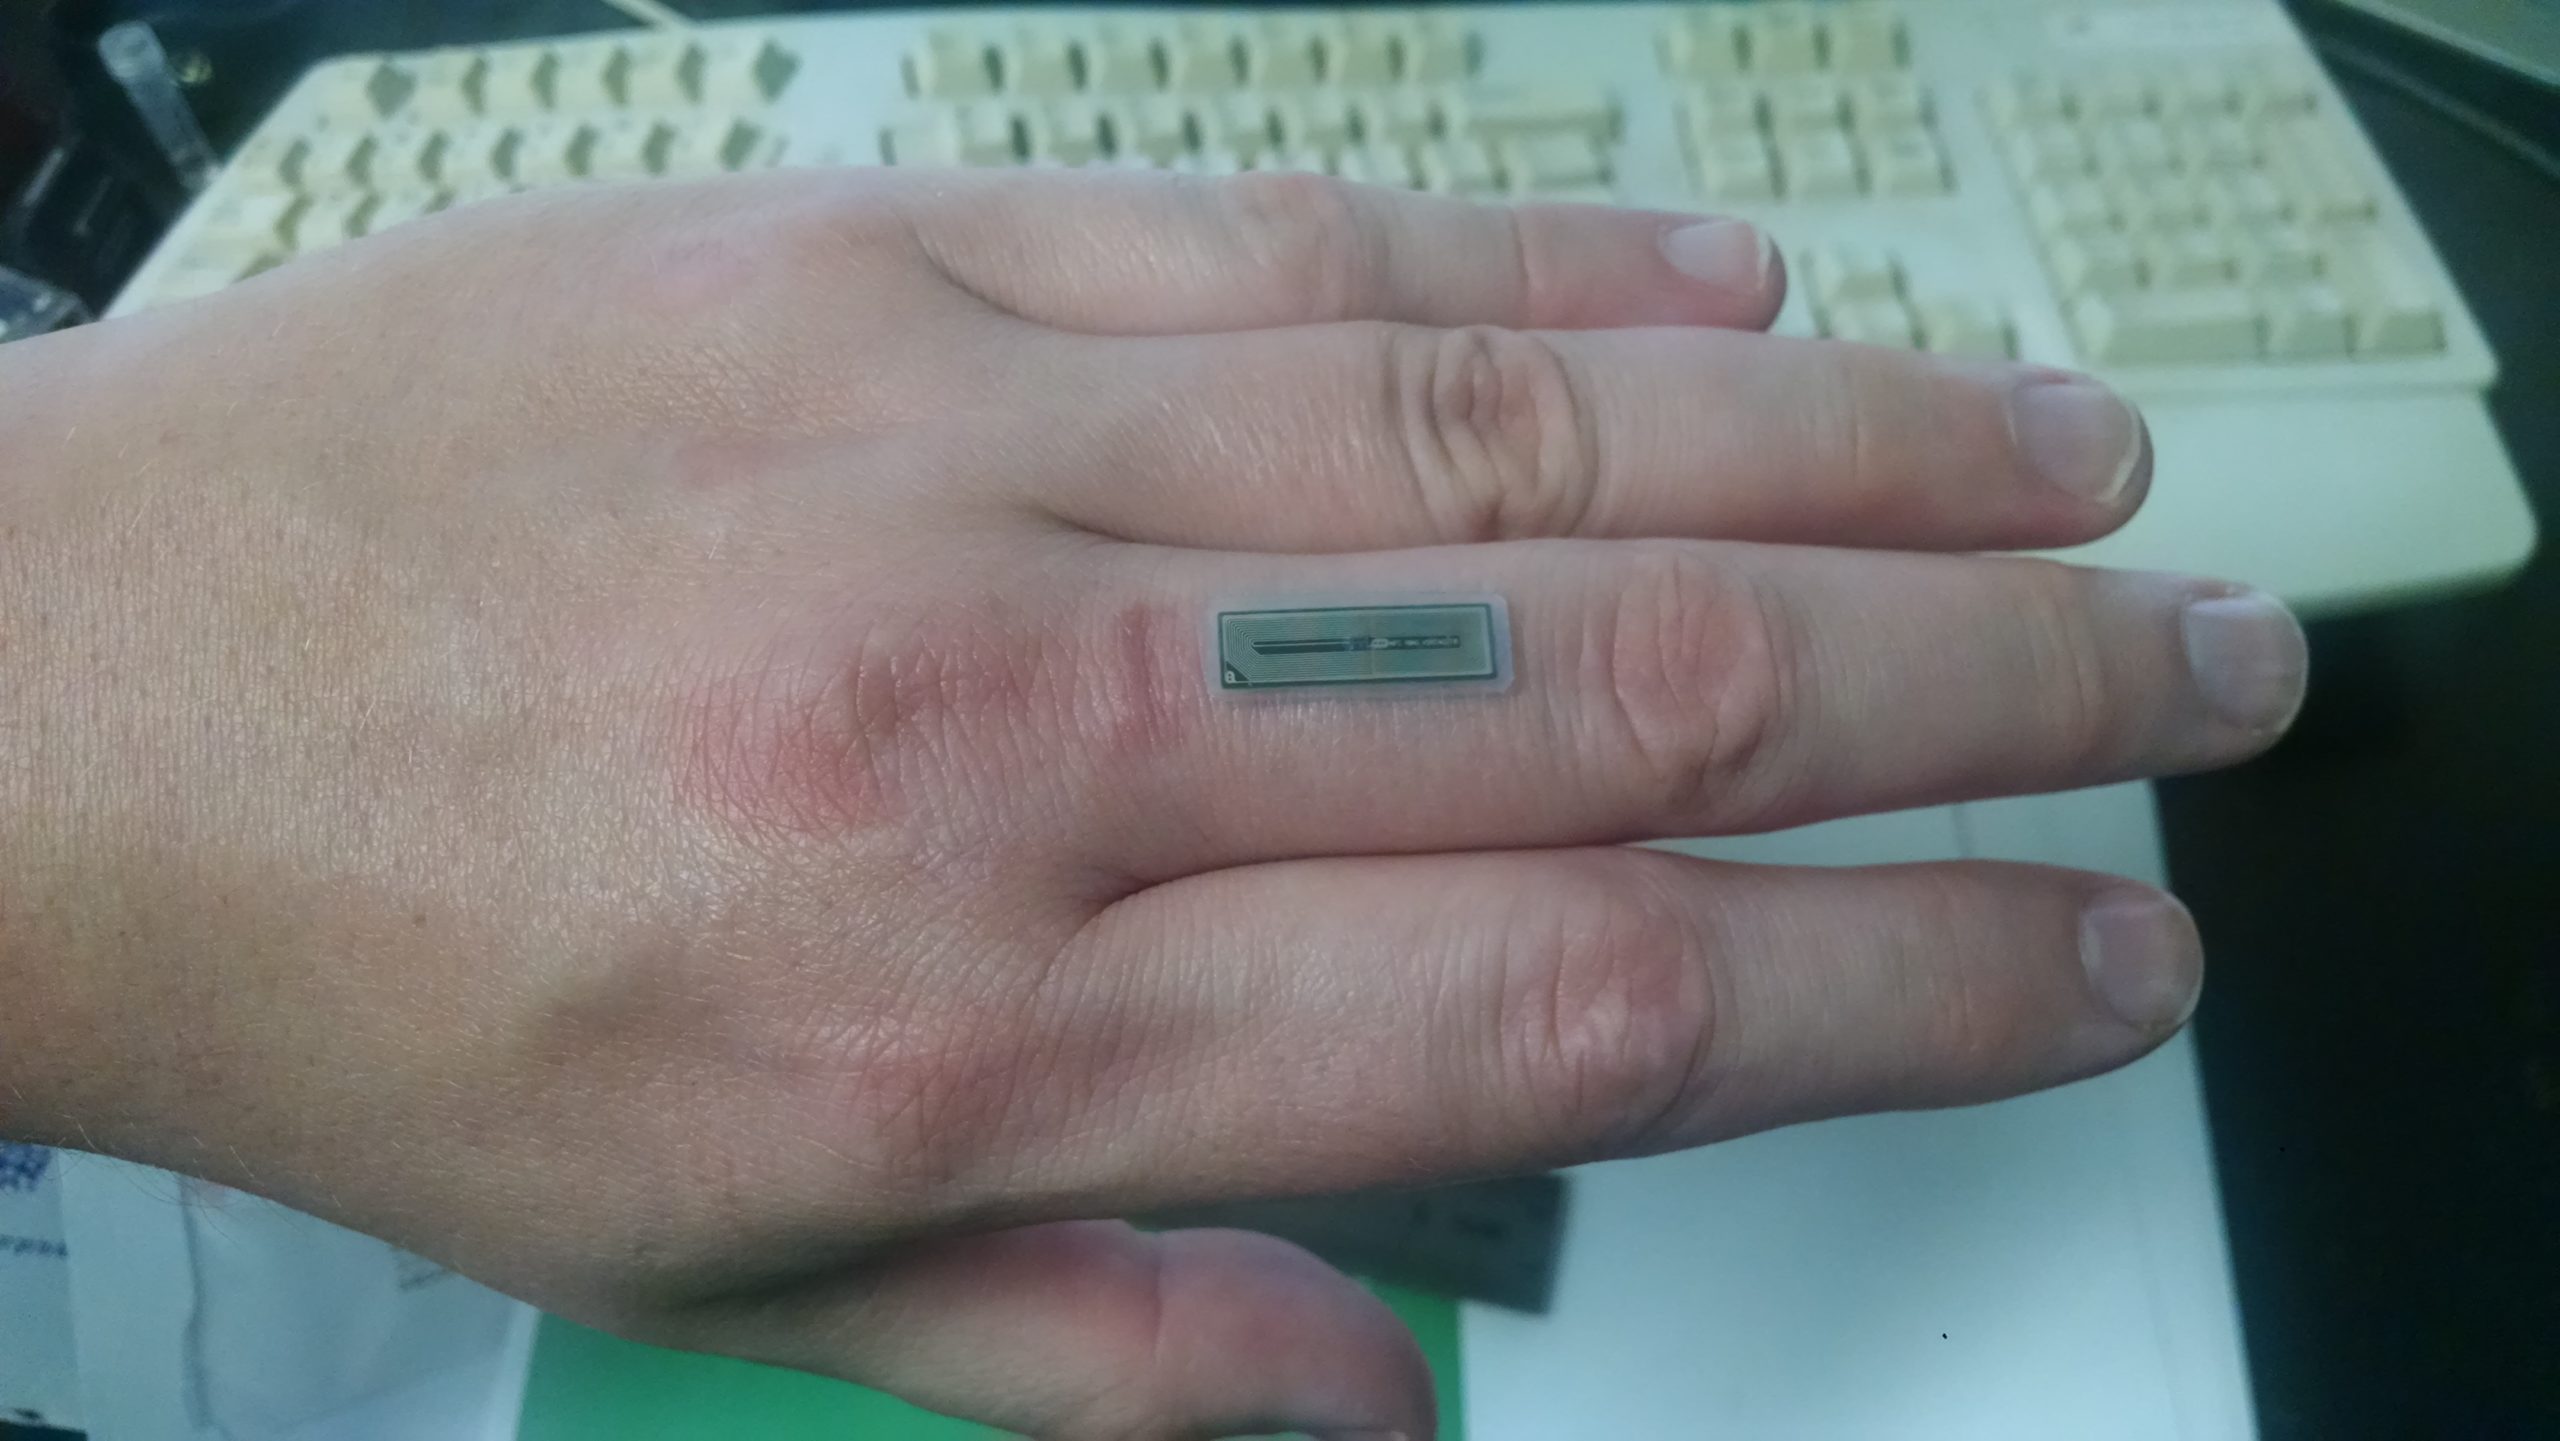
Once your chip implant is installed, you’ll be able to use any NFC smartphone app to write data to the tag and not need to be afraid of accidentally locking the tag, or changing the configuration bytes, or someone maliciously locking your tag or changing your password. We suggest using NXP’s TagWriter app.