


Flex Fun Bundle
The Flex Fun Bundle includes the Apex Flex, flexUG4, and flexEM. This gives you all the digital security and future-proofing of the Apex, all of the best magic access control options, and the accessories you need to capitalize on them. Did we mention these are flex implants? This ensures you get maximum performance.
This bundle requires advanced installation: only two of the three implants can be installed with our custom 4g needle
- Apex Flex – Sub-dermal Security key
- flexUG4 – Ultimate Magic gen4
- flexEM – T5577 125kHz Chip Emulator
- Comes with a topical pain management cream
- Also includes tons of accessories!
$778.40 – $878.40
Flex Fun Bundle Contents
- Implants
- Topical pain management cream
- KBR1
- Proxmark 3 Easy
- Diagnostic Card
- xEM Access Controller
Implants
Apex Flex
The Apex Flex is a patent pending, 8mm x 28mm sub-dermal security key from VivoKey Technologies enabling always available, fully autonomous separation of cryptographic functions from vulnerable general computing platforms such as your smartphone or computer. The ability to carry your OTP authenticator, PGP, and other cryptographic keys, and perform cryptographic functions all in vivo (generate OTP codes, encrypt & decrypt data, etc.) without ever revealing private keys to the NFC interface you are interacting with is a huge step forward for personal digital identity and data security. Checkout the available apps!
flexUG4
The flexUG4 is an Ultimate Magic gen4 chip emulator as an 8mm x 28mm flex implant. It can emulate a variety of different NFC chips and has writable Sector 0, also known as the “manufacturer block.”
flexEM
The flexEM is t5577 low frequency emulator chip as an 20mm diameter x 1.3mm thick flex implant. It can emulate nearly any low frequency transponder and has a writable sector 0, also known as the “manufacturer block.”
Bundle Extras
KBR1
The KBR1 is a keyboard wedge that will print out the UID of an ISO14443 (such as the Apex Flex) implant followed by the ‘enter’ key. This is commonly used to make logging into computers a breeze.
Proxmark 3 Easy
The defacto tool for doing anything beyond a simple read of contactless transponders. The Iceman firmware includes a great lua script (hf_mf_ultimatecard) for configuring your flexUG4.
xEM Access Controller
A simple +12vdc access control board with a SPDT relay that works with EM410X transponders (which the flexEM not only is able to use but comes preprogrammed as).
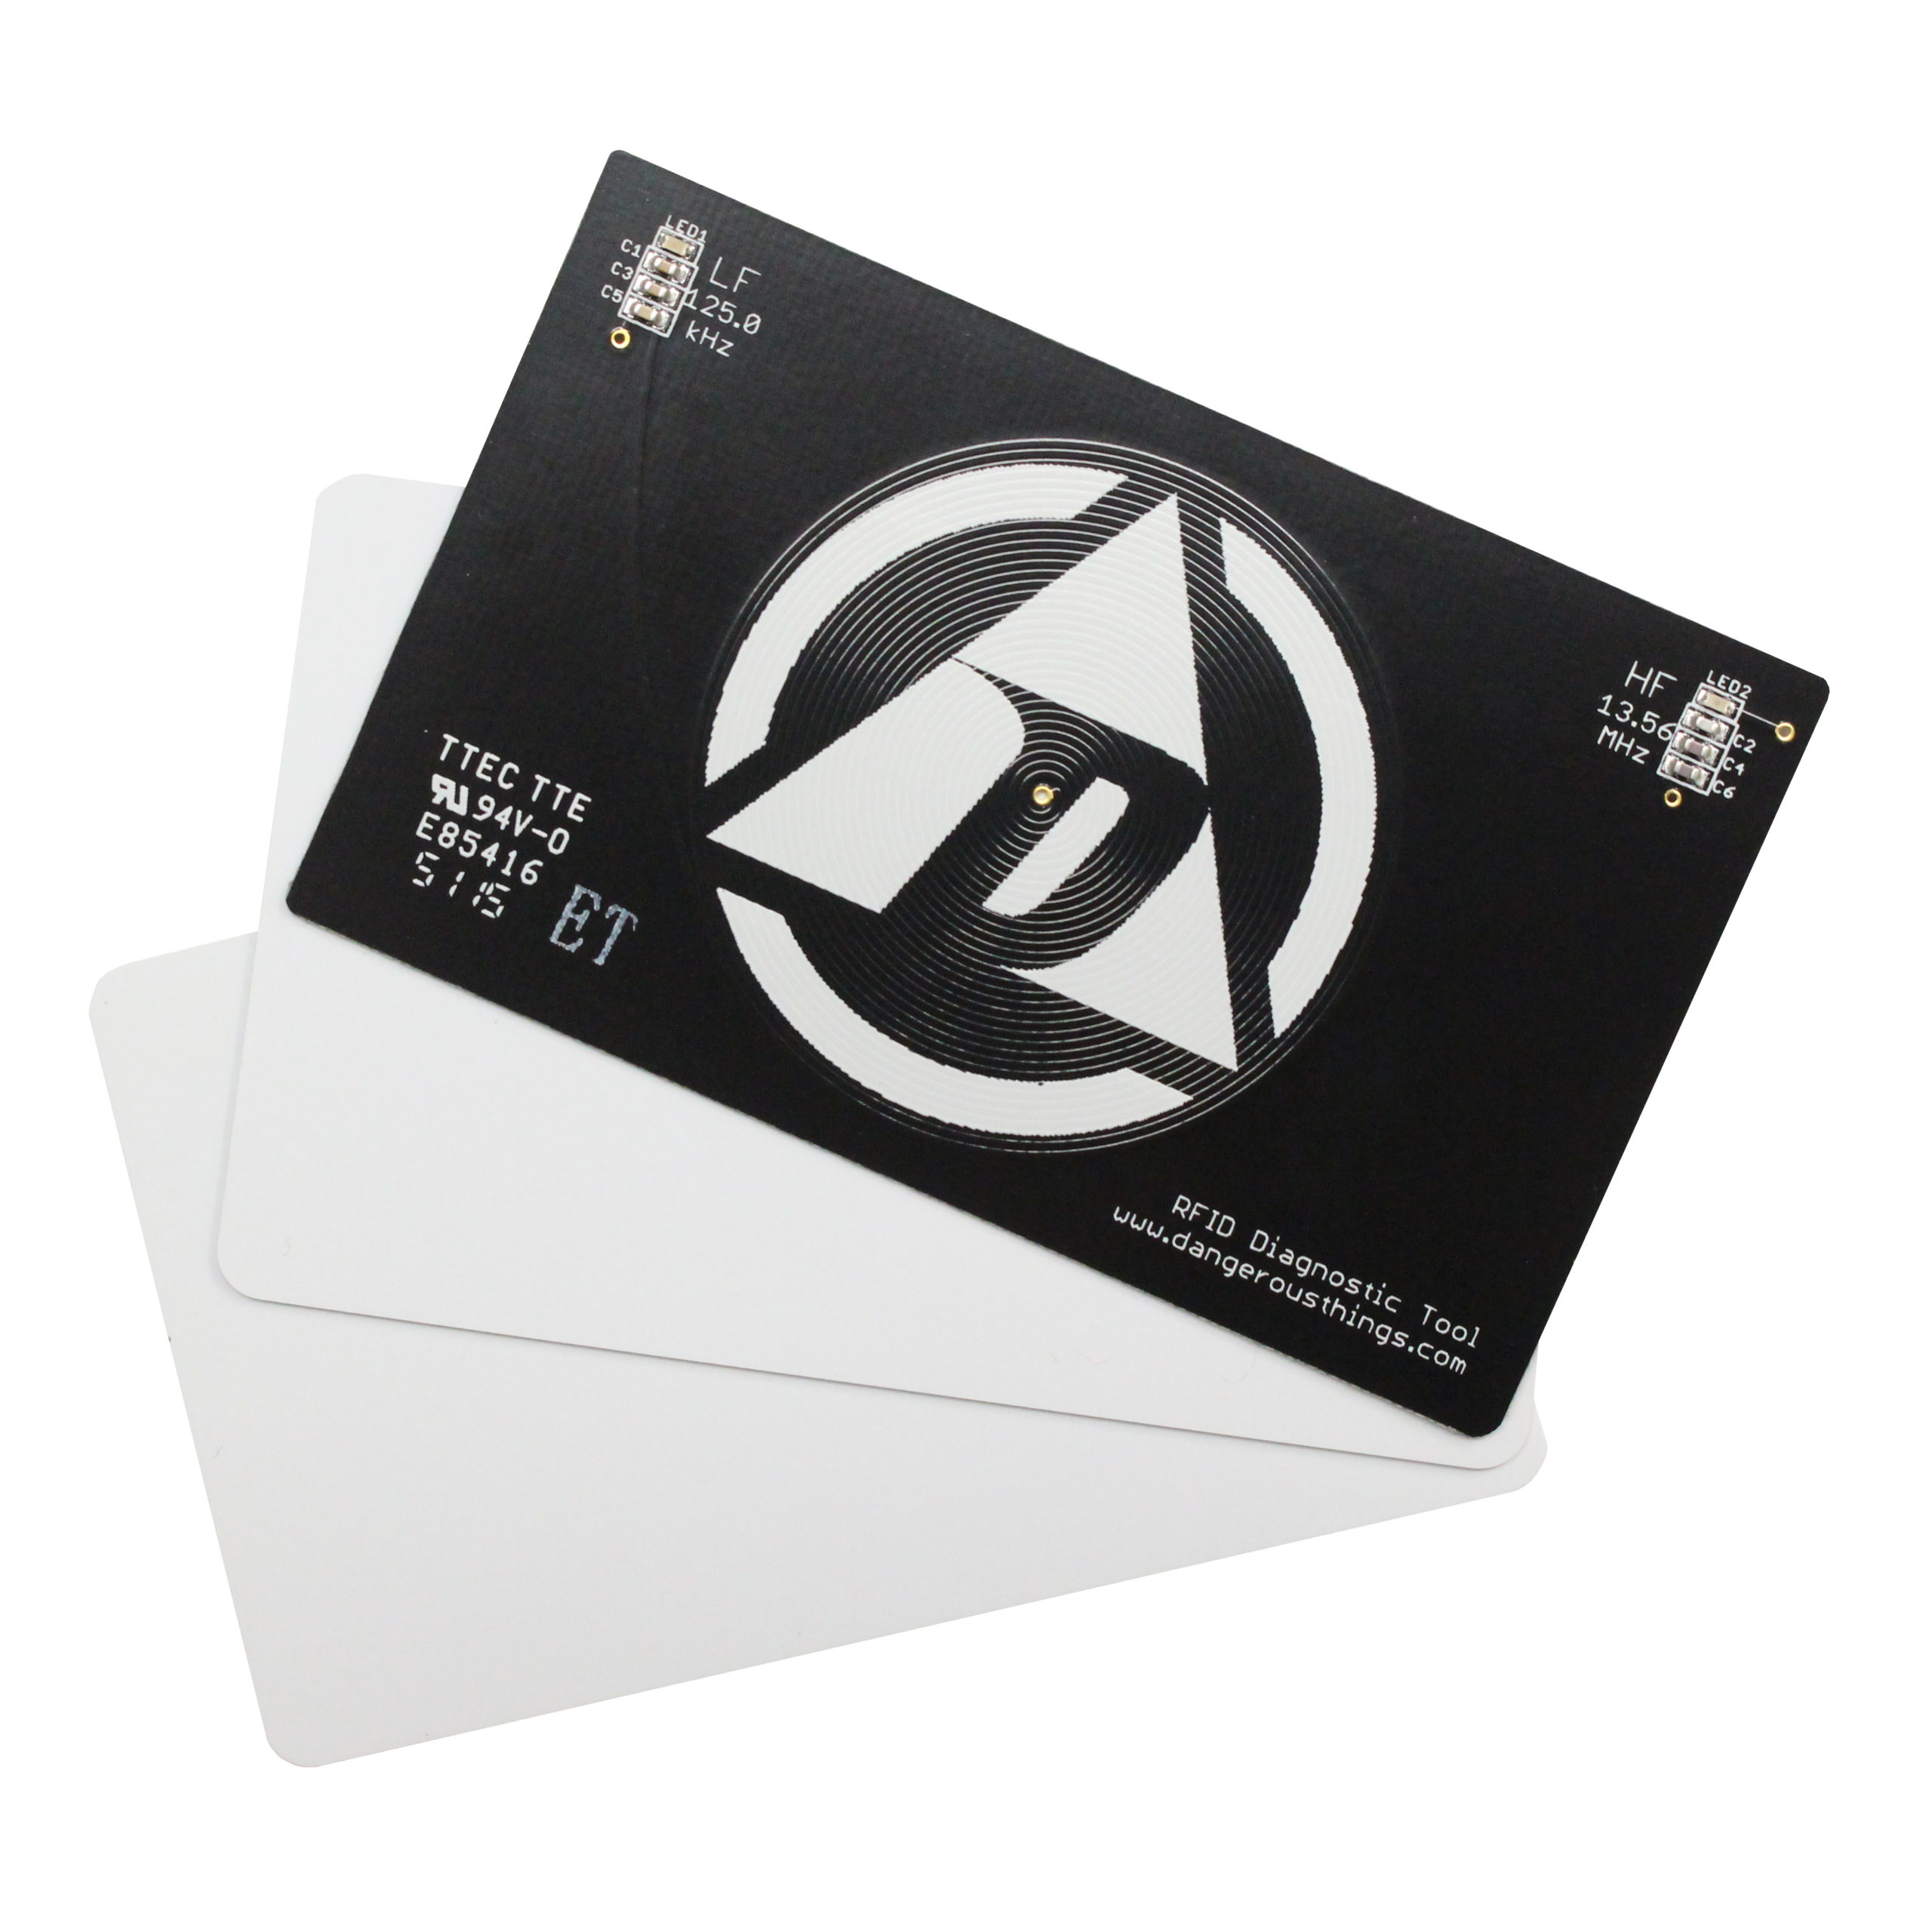
Diagnostic Card
A great tool for determining what frequency a reader operates at–HF aka 13.56 MHz or LF aka 125 kHz.
Professional Installation Notes
General flex guidelines
- flex devices should be installed by an installation professional!
- See this post about naming conventions of installation locations.
- There is no “preferred” location for installation of a flex device. Customers are free to install a flex into any area of the body their installation professional is comfortable with, as long as it is in the fascia layer between dermis and muscle tissue and not in an area of flexion. Use the following guidelines:
- Do not install under any gripping surface (e.g. no palm side installations)
- Do not install atop or parallel to any joints (flex devices are only “semi-flexible”)
- The edge of the hand (referred to as p5) is not recommended due to a high number of device failures.
- The most common placements for narrow flex (such as the Apex Flex and flexUG4) are p1, p2, p3, p4, and the back of the wrist.
- As both the Apex Flex and flexUG4 operate on the same frequency, they should be placed far from one another such a p1 and p4 if placed in the same hand.
- The flexEM is most commonly installed in the same positions as well as along the wider part of the forearm but it is substantially wider due to the disc format.
Apex Flex/flexUG4 needle procedure
- Incise skin using a 4g (5mm diameter) piercing needle, bevel side down
- Carefully insert the needle to a depth of at least 35mm (video)
- Be sure to lift the skin ahead of the needle’s point as you insert it
- Slide flex device under skin with sterile gloves – no forceps or tools
- Achieve complete hemostasis before applying bandaging
- Use re-enforced butterfly bandage or dermal strips to pull wound closed
- Apply transparent film (tegaderm) dressing overtop the dermal strips
- While hemostasis is maintained, do not remove bandaging for 7-10 days
flexEM scalpel procedure
- Make a 20mm wide incision in skin
- Lift & separate dermal layer using elevator tool
- The subdermal “pocket” should be at least 25mm deep
- Remove all tools from installation site
- Slide flex device under skin with sterile gloves – no forceps or tools
- Side with chip visible should be facing up. Do not place silver backed side up.
- Suture to close wound – do not pierce flex device while suturing
flex Warranty
Flex products are somewhat difficult to cover with a warranty due to the ease with which they can be damaged by the customer or an untrained installer. Flex products cannot be autoclaved. The practice of autoclaving (steam sterilization process) is standard procedure for most professional body modification artists, body piercing professionals, and even small general practice medical doctors with simple in-office surgery suites. Processing a flex device in an autoclave will fundamentally damage the biopolymer and allow moisture to creep in to damage the internal electronics over time. Additionally, the polymer coating is very robust, but very thin. If the flex device is handled with tooling such as forceps or tweezers or any tooling other than a sterile gloved hand, it could be punctured or damaged in such a way as to allow moisture to infiltrate over time and damage the internal encapsulated electronics.
As such, flex products carry a 1 year limited warranty, under the condition that the installation must be done by a professional and the installation procedure must be recorded in one single or multiple smaller videos which show;
1) the flex device being removed from the vial, pouch, or polymer bag on to the sterile field.
2) the flex device being picked up and manually installed by the professional without tools.
Only these elements must be shown. You do not need to record or show the installer’s name, face, location, procedure prep, etc., only the handling of the flex device from shipping condition to sterile field and the installation from sterile field to incision must be shown. Audio is not necessary to record or provide either. Should a flex device fail to work due to manufacturing defect, and videos of the installation can be provided, you will be entitled to a free replacement. Failure due to damage including mishandling, programming errors, data tearing, handling with forceps or any tooling, personal injury, etc. is not part of the warranty but will be considered on a case by case basis.